
|
Do it yourself
| |||
| ||||


How to Replace the Water Pump on a Volkswagen Tiguan 1.4 TSI
Model: Volkswagen Golf
Golf 5, MK 5, Golf V
- Years:
2003, 2004, 2005, 2006, 2007, 2008
Video tutorial
Replace the water pump on a Volkswagen Tiguan with a 1.4 TSI engine. Accessing the TSI engine is not easy; there is very little space, but you can do it from the bonnet. Remove the belt and the tensioner, then you can take off the pump, which will spill all the water inside - this work should be done when the engine is cold - take care not to drop the bolts into the engine. Change the pump and secure the gasket properly. Refit and tighten the bolts, reattach the tensioner, secure it with its bolts, and refit the belt - check it; if it is damaged, it is a good opportunity to replace it. Refill the coolant and run the engine for a few minutes. The job is complete.
Updated on 25 May 2026 by ScegliAuto
Related tutorials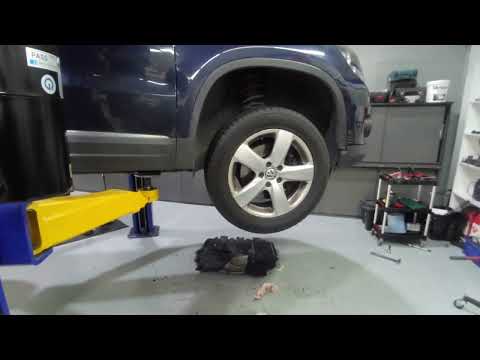
Volkswagen Golf
(2008-2012 /
Golf 6, MK 6, 5K1, Golf VI)
Below is the guide showing the procedure for removing and replacing the water pump on a Volkswagen Golf 1.4 TSI. First, open the bonnet of the vehicl…

Volkswagen Golf
(2012-2019 /
MK 7, Golf 7, Golf VII)
Today's guide will illustrate the main steps on how to remove and replace the water pump on the Volkswagen Golf 1.4 TSI. First, open the vehicle's bo…

Volkswagen Golf
(2003-2008 /
Golf 5, MK 5, Golf V)
To replace the water pump on the Volkswagen Golf 1.4 TSI, open the bonnet to access the engine bay. Next, remove the upper engine cover and some hose…
Other guides you may be interested in
|
How to Remove the Rear Seat of a Hyundai Tucson?
To remove the rear seat of a Hyundai Tucson, follow these steps. Start by moving the front seats to their most forward position to gain space. Next, locate the release lever on the underside of the rear seat, near the floor. Press this lever down while pulling the seat upwards to unlock it from the anchor pins. Once unlocked, tilt the seat upwards and forwards to remove it from its position. Repeat this process for both sides of the rear seat. Be careful of any electrical cables or components that may be connected to the seat during removal. Once the rear seat is removed, the disassembly is complete. by ScegliAuto More videos
|
|
For advertising on this site Write to info@scegliauto.com
ScegliAuto is not responsible for any inaccuracy of the data in the lists. To report any inaccuracy or your business (if you own the business in question), please write to info@scegliauto.com
Number of seconds to generate the page: 0.027
(c) ScegliAuto 2026 - info@scegliauto.com - Privacy policy VAT number: IT01247470535 |
