Do it yourself
Frequently asked questions about cars and motorcycles

Removal of the Cabin Heater Radiator

Model: Volkswagen Transporter T25, T3, MK 3 - Years 1979-1990
Part: Heater core

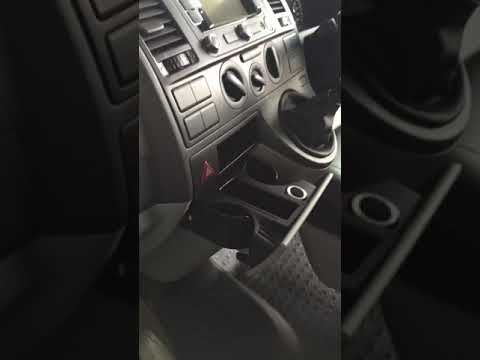
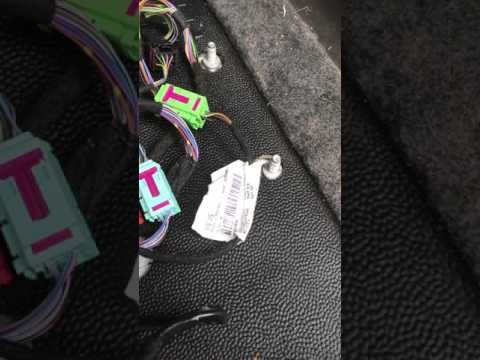
The first symptom of a leak in the cabin heater radiator is misting of the windscreen, along with a drop in coolant level in the radiator reservoir. To replace it, you practically need to dismantle the dashboard. For this reason, many prefer to bypass the radiator by joining the inlet and outlet pipes. If you want to tackle this, start by disconnecting the battery. Then, move to the cabin and begin removing the dashboard components, including the steering wheel, instrument cluster, and central console buttons. Continue by dismantling the centre tunnel, the glove compartment on the passenger side, and the air vents. Next, unscrew the dashboard mounting pins to the vehicle's frame (some are located in the engine bay). Remove the dashboard and take off the air ducts. Unscrew the mounting pins of the dashboard subframe, disconnect the various hoses, connectors, and air deflector cables, and extract the duct assembly, separating it from the ventilation fan assembly. You can now remove the radiator and install the new one: all this work for a replacement costing just a few pounds!

Updated on 13 February 2026 by ScegliAuto

Video tutorial

Related tutorials

Volkswagen Transporter (2003-2014 / T5, MK 5) This vehicle model has three fuse boxes. The first is located in the cabin just below the steering column, and to access it, you need to remove a pla…
Volkswagen Transporter (2003-2014 / T5, MK 5) The fuses in the VW T5 are usually located under the driver's seat. The exact assignment may vary slightly depending on the vehicle's equipment and y…
Volkswagen Transporter (2014-2025 / MK 6, T6) Below is the detailed fuse diagram located in the engine bay of the vehicle: 1 radiator fan; 2 auxiliary cooling pump; 3 heater; 5 DSG automatic gear…

Other guides you may be interested in

How to reset the tyre pressure warning light on the Dacia Sandero?

To reset the tyre pressure warning light on the Dacia Sandero, inflate all the tyres to the pressure indicated on the label on the driver's door. Once the tyres are inflated, turn on the ignition and navigate through the menu using the controls on the right side of the steering wheel. Scroll with the arrows to find the tyre pressure option: by holding down the OK button located on the right side of the steering wheel, you can reset the warning light.

Watch the video!


by ScegliAuto

More videos