
|
Do it yourself
| |||
| ||||


How to Replace the Fuel Filter on a Polo 5
Model: Volkswagen Polo
Polo 5, Polo V, MK 5, MK V, 6R
- Years 2009-2017
In this video, you will learn how to replace the fuel filter on a Polo 5. This task takes about 40 minutes and will cost no more than £25. First, gather a hydraulic jack, a jack stand, and a wooden wedge. Next, switch off the engine and pull the handbrake. Then, lift the car from the passenger side to access the fuel filter. Position the jack in the centre and place it on the jack stands as shown in the video. Locate the fuel filter next to the tank. Using a Phillips screwdriver and a flathead screwdriver, remove the fuel filter as demonstrated in the video. Drain the liquid inside the filter. Once the filter is removed, proceed to fit the new one by reversing the steps.
Updated on 30 June 2026 by ScegliAuto
Video tutorial
Related tutorials
Volkswagen Polo
(2009-2017 /
Polo 5, Polo V, MK 5, MK V, 6R)
In today's tutorial, you will learn how to remove and replace the fuel filter on a Volkswagen Polo 1.6 TDI in simple steps. First, open the engine bo…

Volkswagen Polo
(2009-2017 /
Polo 5, Polo V, MK 5, MK V, 6R)
Below are the instructions that will allow you to remove and replace the fuel filter on the Volkswagen Polo 1.6 TDI. First, open the bonnet and locat…
Volkswagen Polo
(2001-2009 /
MK IV, Polo IV, Polo 4, MK 4, 9N)
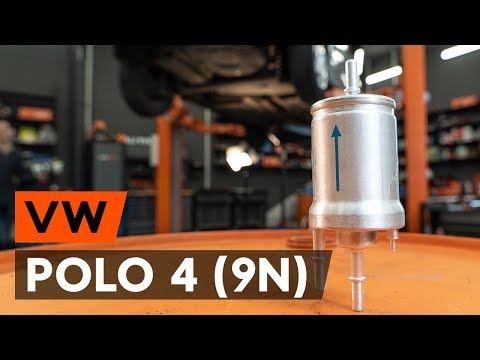
In this tutorial, you will see how to replace the fuel filter in a Volkswagen Polo, a very simple and quick operation. First, open the fuel flap and …
Other guides you may be interested in
|
How to change the time on a Toyota Yaris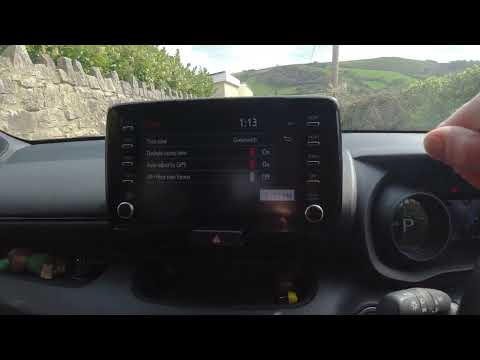
In this video we see how to change the time on a Toyota Yaris, specifically when it comes to switching from daylight saving time to standard time and vice versa. We go to the multifunction screen and press "settings": from there we go to press the clock, simply click on daylight saving time, and the clock will change the time for us, without doing anything else. All we want to do is just adjust the time format to 12 or 24 hours, as is customary in the area where we live: for example in Anglo-Saxon countries it is common to set the time to 12 hours, while in the European Union it is normally set to 24 hours. by ScegliAuto More videos
|
|
For advertising on this site Write to info@scegliauto.com
ScegliAuto is not responsible for any inaccuracy of the data in the lists. To report any inaccuracy or your business (if you own the business in question), please write to info@scegliauto.com
Number of seconds to generate the page: 0.075
(c) ScegliAuto 2026 - info@scegliauto.com - Privacy policy VAT number: IT01247470535 |
