
|
Do it yourself
| |||
| ||||


Where to Find the Fuse Box on a Volkswagen Crafter
Model: Volkswagen Crafter
2E, 2F, MK 1
- Years 2006-2017
In this brief and simple guide, you will learn where to find the internal fuse box of the Volkswagen Crafter, following the instructions below. The internal fuse box is located inside the vehicle, specifically under the seat (by lifting the seat bench); removing the plastic cover will allow access, as shown in the video. At this point, use the owner's manual to find the fuse diagram; identify and replace any blown fuses with new ones that have the same amperage!
Updated on 31 July 2026 by ScegliAuto
Video tutorial
Related tutorials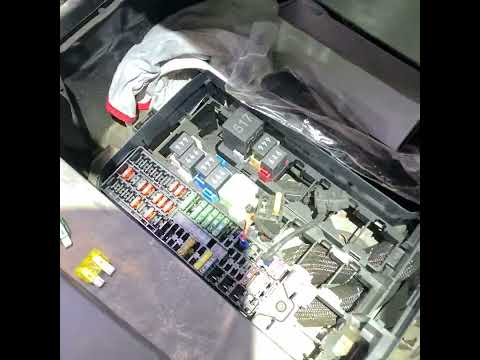
Volkswagen Crafter
(2017-2026 /
SZ, SY, MK 2)
The steps outlined in this guide will show you where to find the fuse boxes of the Volkswagen Crafter. First, get inside the vehicle to locate the in…

Volkswagen Crafter
(2017-2026 /
SZ, SY, MK 2)
Good morning, today's goal is to discover where the fuse box of our Volkswagen Crafter is located and how to reach it. Let's start by opening the fro…
Volkswagen Crafter
(2006-2017 /
2E, 2F, MK 1)
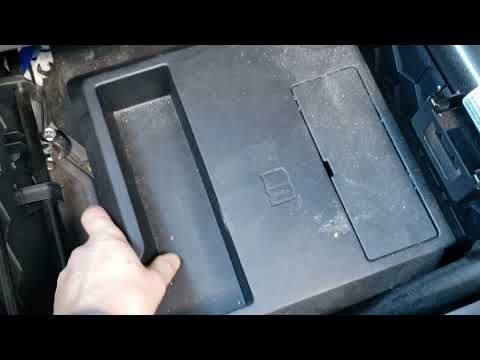
The fuse boxes on the Volkswagen Crafter (the same applies to the Volkswagen Caddy) are located as follows: the main one is under the driver's seat; …
Other guides you may be interested in
|
Frequently Asked QuestionsHow to change the time on a Toyota Yaris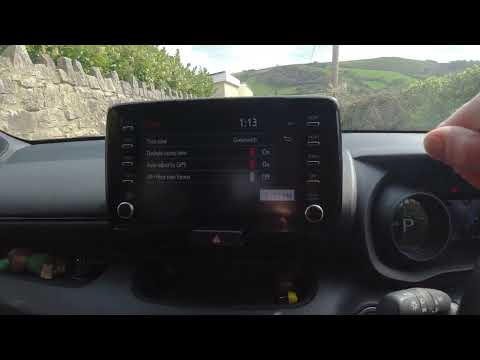
In this video we see how to change the time on a Toyota Yaris, specifically when it comes to switching from daylight saving time to standard time and vice versa. We go to the multifunction screen and press "settings": from there we go to press the clock, simply click on daylight saving time, and the clock will change the time for us, without doing anything else. All we want to do is just adjust the time format to 12 or 24 hours, as is customary in the area where we live: for example in Anglo-Saxon countries it is common to set the time to 12 hours, while in the European Union it is normally set to 24 hours. by ScegliAuto More videos
|
|
For advertising on this site Write to info@scegliauto.com
ScegliAuto is not responsible for any inaccuracy of the data in the lists. To report any inaccuracy or your business (if you own the business in question), please write to info@scegliauto.com
Number of seconds to generate the page: 0.150
(c) ScegliAuto 2026 - info@scegliauto.com - Privacy policy VAT number: IT01247470535 |
