
|
Do it yourself
| |||
| ||||


Replacing Spark Plugs and Ignition System
Model: Volvo Xc90
MK 1
- Years 2002-2014
Start by removing the engine cover using a ratchet wrench. To avoid mixing up the wires, disconnect only the first spark plug. Use a ratchet wrench to remove the retaining screw of the coil connected to the first spark plugs and pull the connector boot upwards. Check the number on the coil and the numbers on the boots. At the bottom of the well is the first spark plug. Before proceeding with removal, thoroughly clean the wells with compressed air to eliminate any dirt that could fall into the combustion chamber. Using the appropriate spark plug socket, which has a rubber gripping device, gently insert it onto the spark plug and unscrew it. Be careful not to drop any foreign objects into the well. Replace the spark plug with one of the same model, carefully inserting it into the well while using the appropriate socket and gently turning it to ensure it threads correctly. If you feel resistance, remove it and try again. The spark plugs should be tightened with a torque wrench; if you do not have one, tighten them without overdoing it. Repeat the same process for the other spark plugs.
Updated on 4 February 2026 by ScegliAuto
Video tutorial
Related tutorials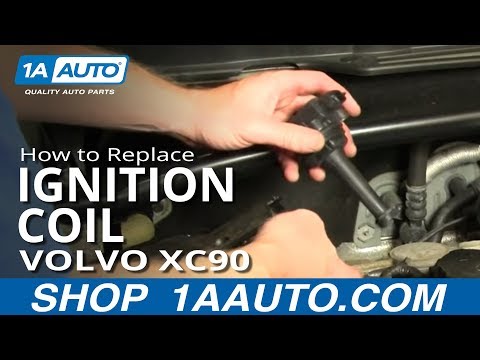
Volvo Xc90
(2002-2014 /
MK 1)
Obtain the correct replacement coil. You will need a few tools to access the coil replacement. Start by removing the metal cover by unscrewing the re…
Volvo Xc90
(2002-2014 /
MK 1)
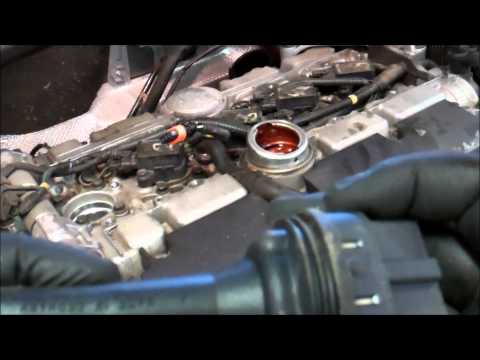
It is recommended to perform this maintenance operation with the engine cold to avoid unpleasant burns. To access the spark plugs, first remove the i…
Volvo Xc90
(2002-2014 /
MK 1)
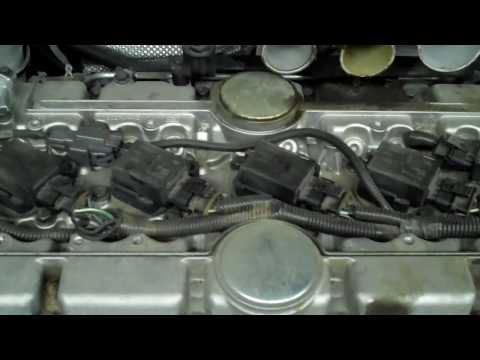
First, note that accessing the spark plugs is not straightforward; you will need to remove the components listed below, and it is recommended to perf…
Other guides you may be interested in
|
How to Check the Oil Level on a Jeep Renegade?
To check the oil level on a Jeep Renegade, you need to open the bonnet to access the components inside the engine bay: on the lower left side of the engine block, you will find the dipstick for checking the level. This should be pulled out and thoroughly cleaned with a cloth: once cleaned, reinsert it back into its tube and pull it out immediately after. This way, you can check that the oil mark is between the minimum and maximum levels; finally, you can place the dipstick back in its tube. by ScegliAuto More videos
|

|
For advertising on this site Write to info@scegliauto.com
ScegliAuto is not responsible for any inaccuracy of the data in the lists. To report any inaccuracy or your business (if you own the business in question), please write to info@scegliauto.com
Number of seconds to generate the page: 0.093
(c) ScegliAuto 2026 - info@scegliauto.com - Privacy policy VAT number: IT01247470535 |
