
|
Do it yourself
| |||
| ||||



Instructions for Replacing Spark Plugs
Model: Volvo Xc90
MK 1
- Years:
2002, 2003, 2004, 2005, 2006, 2007, 2008, 2009, 2010, 2011, 2012, 2013
Video tutorial
It is recommended to perform this maintenance operation with the engine cold to avoid unpleasant burns. To access the spark plugs, first remove the intake duct, which is the hard plastic tube that runs directly over the engine to easily remove the plastic cover located on top of the engine, which has the Volvo logo on it. Once this cover is removed, you can see the ignition coils (the square boxes numbered from 1 to 5). Disconnect the connector attached to the coil, remove the mounting screw, and take it out along with the boot. At this point, unscrew the old spark plug and insert the new one, first hand-tightening it and then tightening it with the appropriate wrench without exceeding the torque specification. Reinsert the boot with the coil (there is only one mounting position), secure it with the screw, and reconnect the connector. Proceed in the same manner for the other four spark plugs and finally reassemble everything that was previously disassembled.
Updated on 5 February 2026 by ScegliAuto
Related tutorials
Volvo Xc90
(2002-2014 /
MK 1)
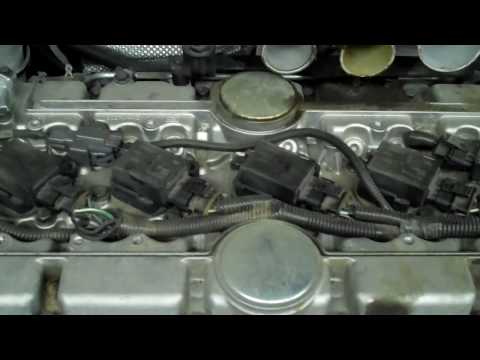
Start by removing the engine cover using a ratchet wrench. To avoid mixing up the wires, disconnect only the first spark plug. Use a ratchet wrench t…
Volvo Xc90
(2002-2014 /
MK 1)
First, note that accessing the spark plugs is not straightforward; you will need to remove the components listed below, and it is recommended to perf…
Volvo Xc90
(2002-2014 /
MK 1)
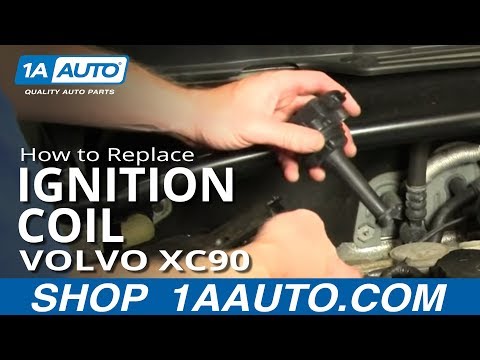
Obtain the correct replacement coil. You will need a few tools to access the coil replacement. Start by removing the metal cover by unscrewing the re…
Other guides you may be interested in
|
How to Remove the Rear Seat of a Hyundai Tucson?
To remove the rear seat of a Hyundai Tucson, follow these steps. Start by moving the front seats to their most forward position to gain space. Next, locate the release lever on the underside of the rear seat, near the floor. Press this lever down while pulling the seat upwards to unlock it from the anchor pins. Once unlocked, tilt the seat upwards and forwards to remove it from its position. Repeat this process for both sides of the rear seat. Be careful of any electrical cables or components that may be connected to the seat during removal. Once the rear seat is removed, the disassembly is complete. by ScegliAuto More videos
|
|
For advertising on this site Write to info@scegliauto.com
ScegliAuto is not responsible for any inaccuracy of the data in the lists. To report any inaccuracy or your business (if you own the business in question), please write to info@scegliauto.com
Number of seconds to generate the page: 0.027
(c) ScegliAuto 2026 - info@scegliauto.com - Privacy policy VAT number: IT01247470535 |
