
|
Do it yourself
| |||
| ||||


BMW Serie 7 - Door trim panelDoor Trim Panel BMW Serie 7 (2001-2008 / e 66, e 67, e 68, e 65, mk 4)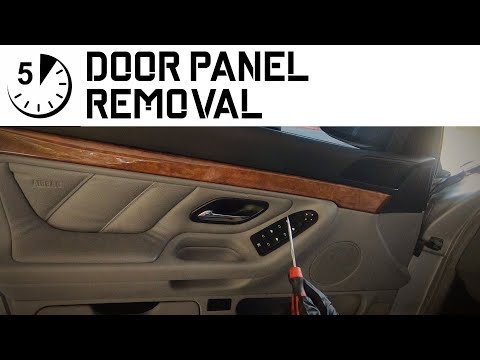 BMW Serie 7 (1994-2001 / MK 3, E38)
Door Panel Replacement on BMW 7 Series Remove the small screw cover near the door handle and unscrew the exposed T20 Torx screw. At the bottom of the door, there is a bulb: remove the cover by …Read all… Posted on 8 May 2026 by ScegliAuto 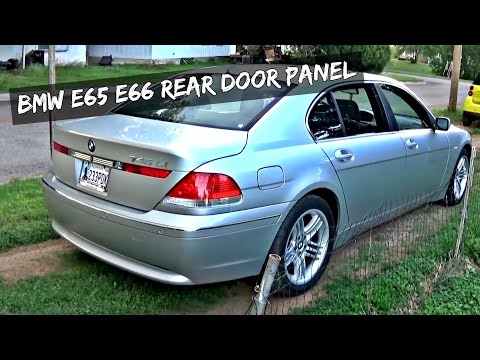 BMW Serie 7 (2001-2008 / E66, E67, E68, E65, MK 4)
Removing the Rear Door Panel To remove the rear door panel, first locate the corresponding fastening screws: along the strip covering the central armrest support on the panel, there are …Read all… Posted on 5 March 2026 by ScegliAuto 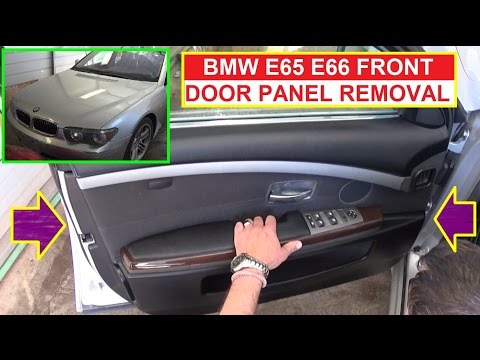 BMW Serie 7 (2001-2008 / E66, E67, E68, E65, MK 4)
Instructions for Door Panel Removal Removing the door panel is fairly simple. Start by locating the screws that secure it. Remove the caps along the armrest, the one inside the handle opening, …Read all… Posted on 21 February 2026 by ScegliAuto Door Trim Panel BMW Serie 7 (1994-2001 / mk 3, e 38)
BMW Serie 7 (1994-2001 / MK 3, E38)Door Panel Replacement on BMW 7 Series Remove the small screw cover near the door handle and unscrew the exposed T20 Torx screw. At the bottom of the door, there is a bulb: remove the cover by …Read all… Posted on 8 May 2026 by ScegliAuto
BMW Serie 7 (2001-2008 / E66, E67, E68, E65, MK 4)Removing the Rear Door Panel To remove the rear door panel, first locate the corresponding fastening screws: along the strip covering the central armrest support on the panel, there are …Read all… Posted on 5 March 2026 by ScegliAuto
BMW Serie 7 (2001-2008 / E66, E67, E68, E65, MK 4)Instructions for Door Panel Removal Removing the door panel is fairly simple. Start by locating the screws that secure it. Remove the caps along the armrest, the one inside the handle opening, …Read all… Posted on 21 February 2026 by ScegliAuto Airbag (5) Speaker (3) Air conditioning (1) Car stereo (5) Battery (3) Air vents (1) Bushings (2) Control arm (4) Spark plugs (1) Body (5) Control unit (1) Key (9) Timing belt (1) V-belt (1) A/C controls (1) Onboard computer (1) Checks and maintenance (4) Dashboard (10) Brake rotors (2) Headlight (3) Air filter (1) Cabin air filter (4) Oil filter (1) Clutch (1) Grille (2) Accessory kit (4) Light bulb (1) Side marker bulb (1) Antifreeze coolant (1) Handle (5) Exhaust muffler (1) Engine (4) Power window motor (1) Starter motor (1) Engine oil (1) Clock (1) Door trim panel (3) Front bumper (3) Rear bumper (2) Tires (1) Pump (1) Fuel pump (1) Car door (1) Push button (1) Radiator (1) Fuse box (17) Seat (2) Parking sensors (1) Oxygen sensor (1) Side mirror (3) Warning light – error code (15) (4) Service warning light (9) Brake drums and shoes (1) Fuel cap (2) Drivetrain (1) Center console tunnel (2) Valve (1) Blower motor (2) |
How to set the clock on the Opel Zafira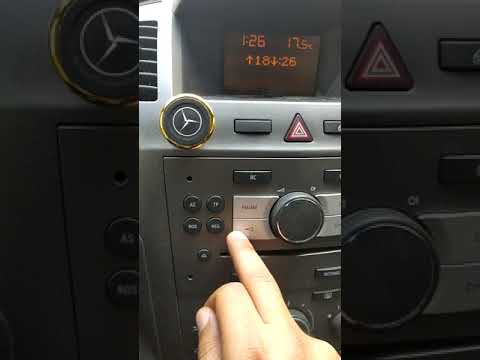
Setting the clock to the current Italian time on an Opel Zafira model B vehicle is a very simple operation, which can also be done independently thanks to our short instructional video. The first thing to do is to turn on the instrument panel and then press the SETTING button, located on the central dashboard. Once inside the menu, use the buttons to navigate to the clock setting. Change the hours and minutes and restart the instrument panel. If the clock is not updated, a diagnosis may be necessary at the radio or vehicle control unit. by ScegliAuto More videos
|
|
For advertising on this site Write to info@scegliauto.com
ScegliAuto is not responsible for any inaccuracy of the data in the lists. To report any inaccuracy or your business (if you own the business in question), please write to info@scegliauto.com
Number of seconds to generate the page: 0.010
(c) ScegliAuto 2026 - info@scegliauto.com - Privacy policy VAT number: IT01247470535 |
