
|
Do it yourself
| |||
| ||||


Removal of the Wood Trim Above the Glove Compartment on the Right Side of the Dashboard
Model: BMW Serie 7
MK 3, E38
- Years 1994-2001
First, open the glove compartment and remove the screws located at the top edge of the compartment (to the right and center) and in the upper left corner of the glove compartment. Then, remove the additional screws holding the rear cover of the compartment. One screw is at the top left (screwed in from the bottom up as shown in the video) and one at the bottom left connecting the door of the compartment to the cover. Remove the compartment cover. Now, at the top edge, you will see small yellow cones. You need to unscrew them to pull out the black plastic part beneath the trim. Finally, at the back of the trim, there are more yellow nuts to unscrew by hand. Now we can remove the trim carefully using a small pry bar, taking care not to damage it. The car is a BMW 7 Series.
Updated on 19 February 2026 by ScegliAuto
Video tutorial
Related tutorials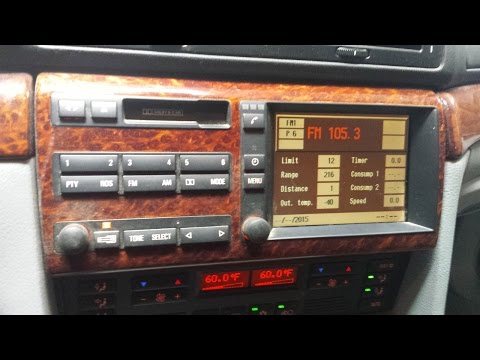
BMW Serie 7
(1994-2001 /
MK 3, E38)
To remove the center console that includes the navigation monitor, start by removing the wood trim located at the center of the dashboard: simply pul…
BMW Serie 7
(2001-2008 /
E66, E67, E68, E65, MK 4)
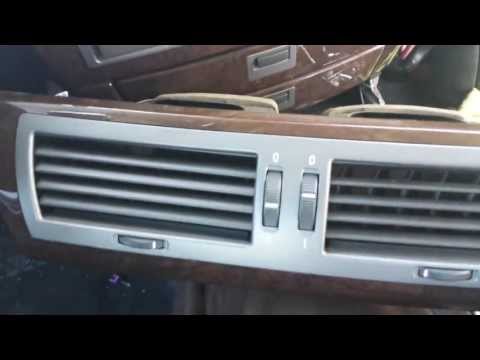
To remove the burl wood trim covering the center section of the dashboard, first remove the side air vent on the passenger side; beneath the vent, th…
BMW Serie 7
(2001-2008 /
E66, E67, E68, E65, MK 4)
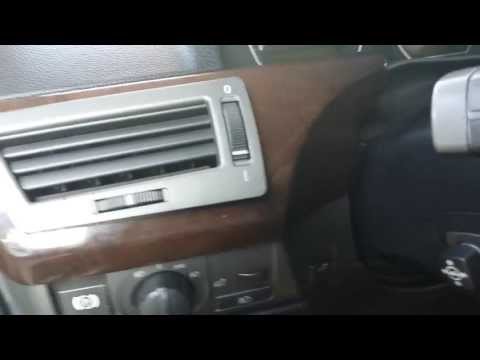
To disassemble some elements of the dashboard, including the center console, start by removing the side air vent located just above the light control…
Other guides you may be interested in
|
How to Bleed the Clutch on a Renault Clio?
To bleed the clutch on a Renault Clio, open the bonnet to access the components located in the engine bay: here, you will need to undo the screws that secure the battery in its housing, the intake manifold, and the coolant reservoir. This will allow you to locate the pipe through which the brake fluid flows: by inserting the other end of the pipe into a container, you can press the clutch pedal to expel all the fluid until it fills the container. by ScegliAuto More videos
|
|
For advertising on this site Write to info@scegliauto.com
ScegliAuto is not responsible for any inaccuracy of the data in the lists. To report any inaccuracy or your business (if you own the business in question), please write to info@scegliauto.com
Number of seconds to generate the page: 0.503
(c) ScegliAuto 2026 - info@scegliauto.com - Privacy policy VAT number: IT01247470535 |
