
|
Do it yourself
| |||
| ||||


Disassembly of the dashboard of the BMW 7 Series
Model: BMW Serie 7
E66, E67, E68, E65, MK 4
- Years 2001-2008
In this guide, we will see the instructions that will allow us to disassemble and replace the entire dashboard of the BMW 7 Series. First, we get on board the car and start dismantling and removing all elements of the dashboard, starting from the radio and air conditioning controls; we then remove the steering wheel and the central display, proceeding with the removal of the glove compartment and the instrument panel, as shown in the video. At this point, we disconnect the various electrical connectors to remove the entire dashboard, making repairs or any replacements; finally, we reassemble everything!
Posted on 14 January 2025 by ScegliAuto
Video tutorial
Related tutorials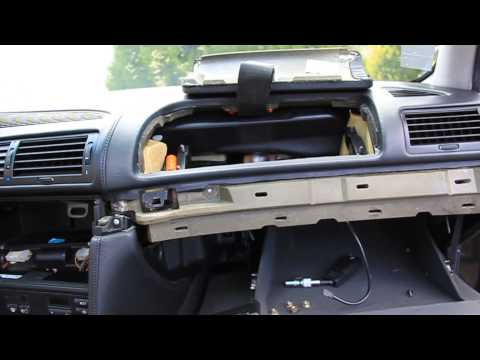
BMW Serie 7
(1994-2001 /
MK 3, E38)
Today, let's go through the main instructions for removing and replacing the dashboard of the BMW 7 Series. First, get inside the vehicle and start b…
BMW Serie 7
(2001-2008 /
E66, E67, E68, E65, MK 4)
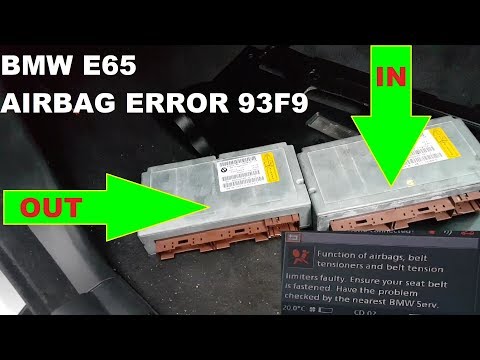
Today's main instructions will guide you on how to reset the airbag warning light on the BMW 7 Series; before performing the reset operation, ensure …

BMW Serie 7
(2015-2022 /
MK 6, G11, G12)
In this tutorial, you will see how to reset the tire light on a BMW 7 Series, a very simple and quick operation that should be done only after restor…
Other guides you may be interested in
|
How to reset the tyre pressure warning light on the Suzuki Jimny?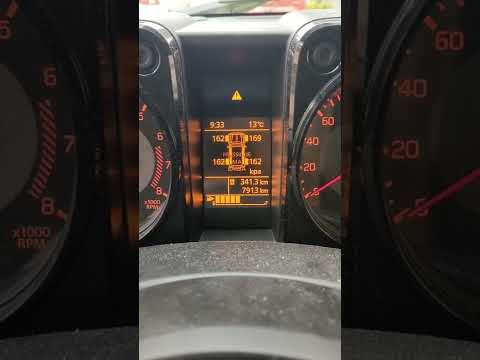
To reset the tyre pressure warning light on the Suzuki Jimny, first inflate the tyres to the pressure value indicated on the corresponding sticker: this is located at the bottom of the driver's door pillar. Once the tyres are inflated, insert the ignition key and turn on the instrument panel: select the screen that indicates the tyre pressures, checking that the values change. After a few seconds, the tyre pressure warning light will automatically turn off. by ScegliAuto More videos
|
|
For advertising on this site Write to info@scegliauto.com
ScegliAuto is not responsible for any inaccuracy of the data in the lists. To report any inaccuracy or your business (if you own the business in question), please write to info@scegliauto.com
Number of seconds to generate the page: 0.143
(c) ScegliAuto 2026 - info@scegliauto.com - Privacy policy VAT number: IT01247470535 |
