
|
Do it yourself
| |||
| ||||


Instructions for Replacing the Water Pump
Model: Chevrolet Camaro
MK 4
- Years:
1993, 1994, 1995, 1996, 1997, 1998, 1999, 2000, 2001, 2002
Video tutorial
Start by removing the intake duct; to access some bolts more easily, it is also recommended to remove the plastic cover of the throttle control and the ECU next to the power steering oil reservoir. Then, proceed to remove the auxiliary belt by loosening the tensioner and paying attention to all the routing of the belt over the various pulleys (there is a diagram on the cover of the grille). Next, remove the water pump pulley. You will need a special puller to remove the power steering pump pulley; once the pulley is removed, unscrew the mounting bolts of the aluminium bracket to which the previously removed ECU was attached. Remove the tensioner of the auxiliary belt, and at this point, you can access the mounting bolts of the water pump. Once the old pump is removed, clean the pump seat thoroughly, apply the new gasket, and install the new pump along with the previously removed components in reverse order.
Updated on 9 February 2026 by ScegliAuto
Related tutorials
Chevrolet Camaro
(2016-2024 /
MK 6)
In this tutorial, we can see how to reset the tire pressure light in the Chevrolet Camaro, a very simple and quick operation to be done only once the…
Chevrolet Camaro
(2007-2016 /
MK 5)
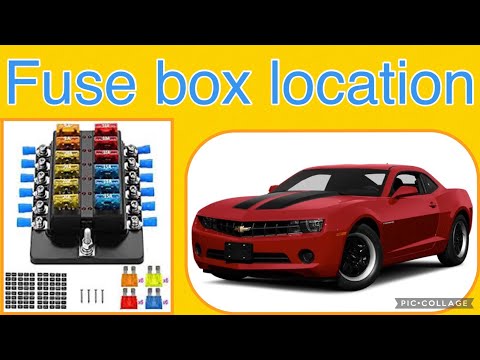
If you are looking for the main fuse box in your 2013 Chevrolet Camaro, follow these instructions to locate it quickly and safely. First, completely …
Chevrolet Camaro
(1993-2002 /
MK 4)
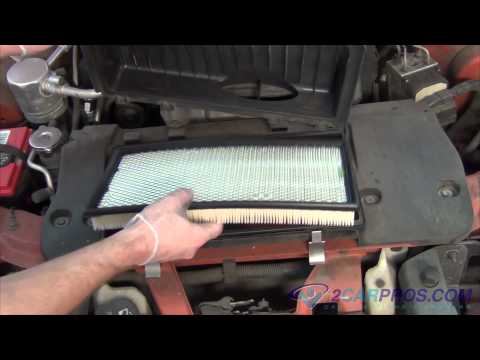
A clogged air filter leads to reduced engine performance and excessive fuel consumption. Its function is to protect the engine by trapping impurities…
Other guides you may be interested in
|
How to Remove the Rear Seat of a Hyundai Tucson?
To remove the rear seat of a Hyundai Tucson, follow these steps. Start by moving the front seats to their most forward position to gain space. Next, locate the release lever on the underside of the rear seat, near the floor. Press this lever down while pulling the seat upwards to unlock it from the anchor pins. Once unlocked, tilt the seat upwards and forwards to remove it from its position. Repeat this process for both sides of the rear seat. Be careful of any electrical cables or components that may be connected to the seat during removal. Once the rear seat is removed, the disassembly is complete. by ScegliAuto More videos
|
|
For advertising on this site Write to info@scegliauto.com
ScegliAuto is not responsible for any inaccuracy of the data in the lists. To report any inaccuracy or your business (if you own the business in question), please write to info@scegliauto.com
Number of seconds to generate the page: 0.103
(c) ScegliAuto 2026 - info@scegliauto.com - Privacy policy VAT number: IT01247470535 |
