
|
Do it yourself
| |||
| ||||


Chevrolet Camaro - Video guides Chevrolet Camaro (2007-2016 / MK 5) How to reset the oil light on a Chevrolet Camaro MK5 Let's see how to reset the service light on a 2012 Chevrolet Camaro (MK5): insert the key and turn it to the "accessory" position, then go to the vehicle …Read all… Posted on 1 November 2026 by ScegliAuto  Chevrolet Camaro (2007-2016 / MK 5) How to Replace the Rear Brake Light Bulb on a Chevrolet Camaro MK5 Here’s how to replace the rear light bulb (brake/indicator) on a Chevrolet Camaro MK5 (2010/2015). To access the light assembly, open the boot and locate the …Read all… Posted on 25 February 2026 by ScegliAuto  Chevrolet Camaro (2007-2016 / MK 5) How to Program a Remote for the Chevrolet Camaro In this tutorial, you will see how to program a remote for the Chevrolet Camaro, a very simple and quick operation. For this, you will obviously need a working …Read all… Posted on 20 February 2026 by ScegliAuto  Chevrolet Camaro (2016-2024 / MK 6) How to reset the tire pressure light in the Chevrolet Camaro? In this tutorial, we can see how to reset the tire pressure light in the Chevrolet Camaro, a very simple and quick operation to be done only once the correct …Read all… Posted on 9 June 2025 by ScegliAuto  Chevrolet Camaro (2016-2024 / MK 6) Where is the fuse box for the engine of the Chevrolet Camaro located? In this new guide dedicated to those of you who want to discover where the fuse box of the engine of your Chevrolet Camaro latest series is located, we will …Read all… Posted on 17 February 2025 by ScegliAuto  Chevrolet Camaro (2007-2016 / MK 5) How to Replace the Key Battery in the Chevrolet Camaro When the key for your Chevrolet Camaro (2010-2015) stops working, you don't necessarily have to rush out to buy a new one. In most cases, simply replacing the …Read all… Posted on 10 October 2026 by ScegliAuto  Chevrolet Camaro (1982-1992 / MK 3) Fuses Location for the Chevrolet Camaro 1988-1992 This video provides an overview of the fuses installed in the Chevrolet Camaro model from 1988 to 1992: the fuse panel is located at the bottom of the …Read all… Posted on 4 October 2026 by ScegliAuto 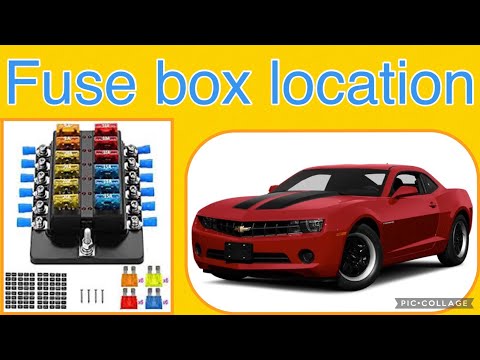 Chevrolet Camaro (2007-2016 / MK 5) Where to Find the Main Fuse Box of the 2013 Chevrolet Camaro If you are looking for the main fuse box in your 2013 Chevrolet Camaro, follow these instructions to locate it quickly and safely. First, completely switch off …Read all… Posted on 1 November 2026 by ScegliAuto  Chevrolet Camaro (2007-2016 / MK 5) How to Replace the Fog Light on a Chevrolet Camaro If you want to replace the fog light on this car model, the following description includes all the information and useful steps to correctly carry out the …Read all… Posted on 25 October 2026 by ScegliAuto
Chevrolet Camaro (2007-2016 / MK 5)How to Replace the Pollen Filter in a Chevrolet Camaro. In this video tutorial, you can see how to replace the pollen filter in a Chevrolet Camaro by following a few simple steps: first, purchase a new, quality …Read all… Posted on 29 August 2026 by ScegliAuto 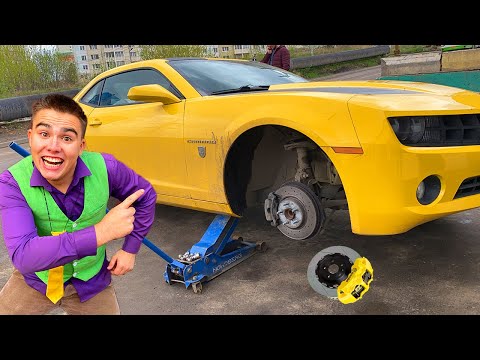 Chevrolet Camaro (2007-2016 / MK 5) How to Remove a Wheel from a Chevrolet Camaro Before you start, ensure that your Camaro is in first gear and the handbrake is engaged. Begin by lifting the car using the appropriate jack provided with the …Read all… Posted on 21 June 2026 by ScegliAuto  Chevrolet Camaro (1993-2002 / MK 4) Replacement of Internal Heating Pipes The ducts that carry water to the radiator for cabin heating are partly made of aluminium and partly of rubber: in case of a leak, you can choose to repair or …Read all… Posted on 16 February 2026 by ScegliAuto 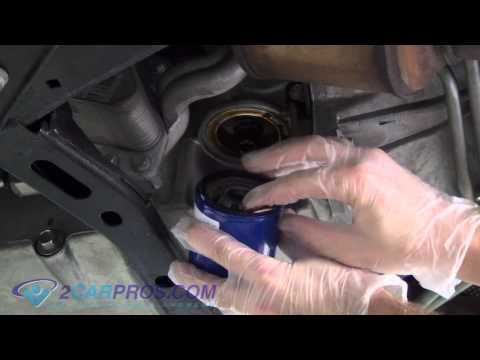 Chevrolet Camaro (2007-2016 / MK 5) Engine Oil and Filter Replacement Position the vehicle on a lift to facilitate access to the oil sump. Proceed by unscrewing the drain plug located on the side of the sump to drain the used …Read all… Posted on 16 February 2026 by ScegliAuto 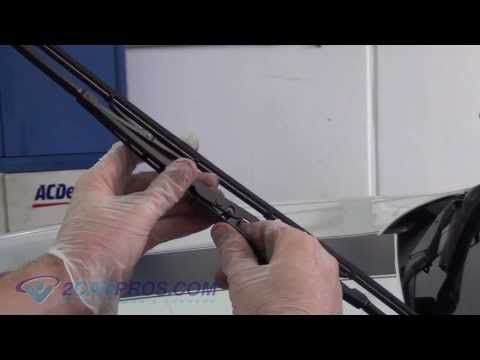 Chevrolet Camaro (2007-2016 / MK 5) Replacement of Wiper Blades Replacing wiper blades is extremely simple and can easily be done as a DIY task. Once you lift the wiper arm, rotate the blade 90°, unclip the fastening tab, …Read all… Posted on 16 February 2026 by ScegliAuto 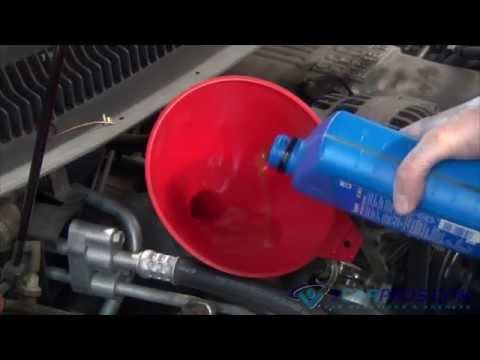 Chevrolet Camaro (1993-2002 / MK 4) Engine Oil and Filter Replacement To facilitate the oil drainage from the sump, lift the vehicle on a hydraulic lift or suitable car ramps. Then, unscrew the drain plug located on the side of …Read all… Posted on 16 February 2026 by ScegliAuto 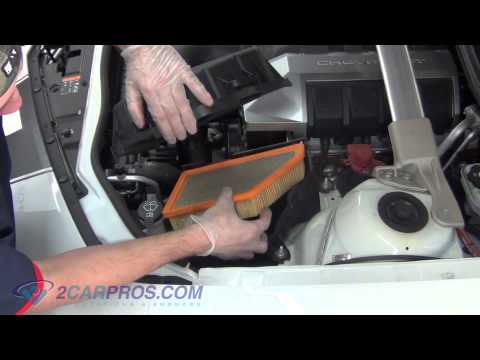 Chevrolet Camaro (2007-2016 / MK 5) Engine Air Filter Replacement The engine air filter housing (AIR BOX) is located at the front right of the engine bay (when facing forward), specifically on the driver's side, just behind …Read all… Posted on 16 February 2026 by ScegliAuto 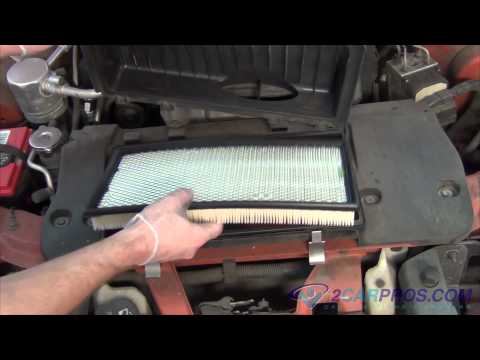 Chevrolet Camaro (1993-2002 / MK 4) Guide to Replacing Engine Air Filter A clogged air filter leads to reduced engine performance and excessive fuel consumption. Its function is to protect the engine by trapping impurities from the …Read all… Posted on 15 February 2026 by ScegliAuto  Chevrolet Camaro (1993-2002 / MK 4) Instructions for Replacing the Water Pump Start by removing the intake duct; to access some bolts more easily, it is also recommended to remove the plastic cover of the throttle control and the ECU …Read all… Posted on 14 February 2026 by ScegliAuto  Chevrolet Camaro (2007-2016 / MK 5) Changing the Cabin Air Filter Replacing the cabin air filter (like the regular one) is very important, as we've seen in previous articles. The procedure is generally simple, although it can …Read all… Posted on 13 February 2026 by ScegliAuto
Key (2)
Tail light (1)
Fog lights (1)
Air filter (2)
Cabin air filter (2)
Oil filter (2)
Engine (1)
Pump (1)
Wheel (1)
Fuse box (3)
Tire pressure warning light (1)
Service warning light (1)
Windshield wipers (1)
|
How to Remove the Rear Seat of a Hyundai Tucson?
To remove the rear seat of a Hyundai Tucson, follow these steps. Start by moving the front seats to their most forward position to gain space. Next, locate the release lever on the underside of the rear seat, near the floor. Press this lever down while pulling the seat upwards to unlock it from the anchor pins. Once unlocked, tilt the seat upwards and forwards to remove it from its position. Repeat this process for both sides of the rear seat. Be careful of any electrical cables or components that may be connected to the seat during removal. Once the rear seat is removed, the disassembly is complete. by ScegliAuto More videos
|
|
For advertising on this site Write to info@scegliauto.com
ScegliAuto is not responsible for any inaccuracy of the data in the lists. To report any inaccuracy or your business (if you own the business in question), please write to info@scegliauto.com
Number of seconds to generate the page: 0.028
(c) ScegliAuto 2026 - info@scegliauto.com - Privacy policy VAT number: IT01247470535 |
