
|
Do it yourself
| |||
| ||||


Instructions for Removing the Front Bumper
Model: Chevrolet Cruze
MK 1, J300
- Years 2009-2015
Start by opening the bonnet and removing the pins and clips located just above the front grille. Next, proceed to remove the plastic wheel arch liners and the screws along the lower edge of the bumper (it is advisable to lift the vehicle on a ramp or on suitable axle stands for this). Also, remove the clips. Disconnect the temperature sensor connector, unclip the side of the bumper from the support located just below the wing, and remove it from its housing: this operation requires particular care as the plastic tabs securing the bumper to the support need to be levered off (apply masking tape to the bodywork and use a flat screwdriver to lever).
Updated on 10 February 2026 by ScegliAuto
Video tutorial
Related tutorials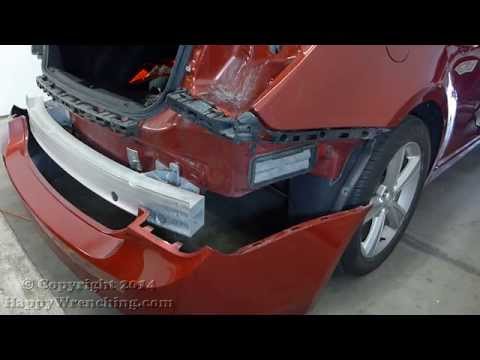
Chevrolet Cruze
(2009-2015 /
MK 1, J300)
The following guide shows how to remove the rear bumper. Before starting, check for any internal damage. To proceed, follow these simple steps that w…
Chevrolet Cruze
(2009-2015 /
MK 1, J300)
Before you start, open the bonnet of your Chevrolet Cruze. Begin by removing the front bumper by unscrewing the fixing screws and clips located aroun…

Chevrolet Cruze
(2009-2015 /
MK 1, J300)
Do you want to replace the front bumper of your Chevrolet Cruze along with the grille? Follow these steps. Lift the bonnet and secure it. Using a bat…
Other guides you may be interested in
|
How to Adjust the Brightness of the Instrument Cluster on a Peugeot 3008?
To adjust the brightness of the instrument cluster on a Peugeot 3008, you need to turn on the ignition and access the settings via the menu located in the central area of the dashboard. In the screen that appears, select the "Display Configuration" option: now, by selecting the "Brightness" option, you can adjust it using the dedicated slider that will appear on the screen. The adjustment should be made with the headlights on as well as with them off. Once the adjustment is complete, you can turn off the instrument cluster. by ScegliAuto More videos
|

|
For advertising on this site Write to info@scegliauto.com
ScegliAuto is not responsible for any inaccuracy of the data in the lists. To report any inaccuracy or your business (if you own the business in question), please write to info@scegliauto.com
Number of seconds to generate the page: 0.147
(c) ScegliAuto 2026 - info@scegliauto.com - Privacy policy VAT number: IT01247470535 |
