
|
Do it yourself
| |||
| ||||



How to remove the front bumper of the Chevrolet Cruze.
Model: Chevrolet Cruze
J300, MK 1
- Years:
2009, 2010, 2011, 2012, 2013, 2014, 2015
Video tutorial
Let's see how to remove the front bumper of the Chevrolet Cruze: we will need to work in this order: bottom/sides/top. From the bottom, we locate the Torx T20 screws that secure the bumper to the underbody, and the plastic clips in the center (it’s a good idea to have some replacement clips on hand, as they can break easily). From the sides, we bend the plastic fender to access the side edge of the bumper, where we will find more T20 screws to remove; we repeat this on the other side. Now let's proceed from the top. We open the hood: in the corners, we will find two 10 mm screws; let’s unscrew them. Along the top edge of the bumper, there are several plastic clips that we need to remove. Now the bumper is only held by the side hooks. Let’s get some help to pull it forward and disconnect the electrical connectors: turn signals, fog lights, parking sensors, and camera. Now we can remove it completely.
Posted on 6 December 2025 by ScegliAuto
Related tutorials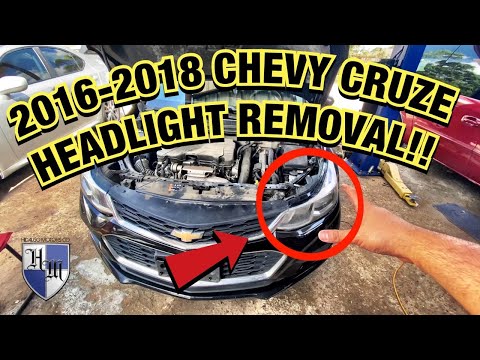
Chevrolet Cruze
(2009-2015 /
J300, MK 1)
Before you start, open the bonnet of your Chevrolet Cruze. Begin by removing the front bumper by unscrewing the fixing screws and clips located aroun…

Chevrolet Cruze
(2009-2015 /
J300, MK 1)
To remove the front headlamp of the Chevrolet Cruze, you need to loosen all the fixing screws that secure the bumper: open the bonnet and unscrew the…

Chevrolet Cruze
(2016-2023 /
D2lc, D2lc-K)
The main steps today will show you how to remove and replace the rear bumper of the Chevrolet Cruze. First, open the boot and start unscrewing all th…
Other guides you may be interested in
|
How to Remove the Rear Seat of a Hyundai Tucson?
To remove the rear seat of a Hyundai Tucson, follow these steps. Start by moving the front seats to their most forward position to gain space. Next, locate the release lever on the underside of the rear seat, near the floor. Press this lever down while pulling the seat upwards to unlock it from the anchor pins. Once unlocked, tilt the seat upwards and forwards to remove it from its position. Repeat this process for both sides of the rear seat. Be careful of any electrical cables or components that may be connected to the seat during removal. Once the rear seat is removed, the disassembly is complete. by ScegliAuto More videos
|
|
For advertising on this site Write to info@scegliauto.com
ScegliAuto is not responsible for any inaccuracy of the data in the lists. To report any inaccuracy or your business (if you own the business in question), please write to info@scegliauto.com
Number of seconds to generate the page: 0.006
(c) ScegliAuto 2026 - info@scegliauto.com - Privacy policy VAT number: IT01247470535 |
