
|
Do it yourself
| |||
| ||||



How to Replace Brake Pads on a Chevrolet Trax?
Model: Chevrolet Trax
MK 1
- Years:
2013, 2014, 2015, 2016, 2017, 2018, 2019, 2020, 2021, 2022
Video tutorial
Ensure the car is off and the handbrake is engaged. Lift the car with a jack and place supports under the chassis for safety. Remove the wheel to access the braking system. Locate the brake caliper holding the pads. Remove the bolts or screws securing the caliper to the caliper bracket. Disconnect the caliper from the brake disc, taking care not to damage the brake fluid hose. Extract the worn pads from the caliper. Clean the caliper and bracket with a wire brush. Check that the brake disc is in good condition and does not need replacing. Reset the caliper piston using a suitable tool to make space for the new pads. Apply some grease to the back of the new pads. Install the new pads in the caliper. Reattach the caliper to the brake disc and secure it with the bolts or screws. Refit the wheel and lower the car from the jack. Tighten the wheel nuts with a torque wrench to the manufacturer's specifications. Before driving, pump the brake pedal several times to ensure the pads are properly seated and the braking system is pressurised.
Updated on 2 October 2026 by ScegliAuto
Related tutorials
Chevrolet Trax
(2013-2022 /
MK 1)
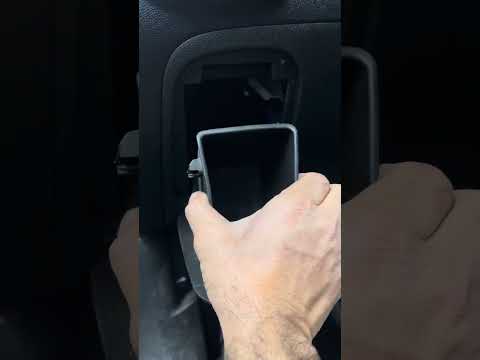
Thanks to the steps described in the following guide aimed at all of you who own a first-generation Chevrolet Trax, you will be able to find the OBD2…
Chevrolet Trax
(2013-2022 /
MK 1)
If you do not know where the main fuse box is located on your 2019 Chevrolet Trax, do not worry because the instructions in this guide will help you …

Chevrolet Trax
(2013-2022 /
MK 1)
To correctly replace the button battery located inside the smart key of your Chevrolet Trax, follow these simple steps. First, obtain a flat screwdri…
Other guides you may be interested in
|
How to open the bonnet on a Volkswagen Golf?
In this tutorial, you will see how to open the bonnet on a Volkswagen Golf MK4. This is a very simple operation that follows the standard procedure. First, open the driver's door, then locate the lever in the lower left area and pull it. Next, move to the front of the vehicle, lift the bonnet slightly, and find the second lever located just above the Volkswagen logo. At this point, simply pull it towards you, fully open the bonnet, and secure it with the prop rod. To close it, gently push it down. by ScegliAuto More videos
|
|
For advertising on this site Write to info@scegliauto.com
ScegliAuto is not responsible for any inaccuracy of the data in the lists. To report any inaccuracy or your business (if you own the business in question), please write to info@scegliauto.com
Number of seconds to generate the page: 0.091
(c) ScegliAuto 2026 - info@scegliauto.com - Privacy policy VAT number: IT01247470535 |
