
|
Do it yourself
| |||
| ||||


Replacing Battery on Chrysler PT Cruiser
Model: Chrysler Pt Cruiser
MK 1
- Years 2000-2010
Required tools: 10 mm and 13 mm sockets, screwdriver. The procedure shown pertains to a 2004 PT Cruiser, but the procedure is identical for other models, as there is only one generation produced from 2000 to 2010. The battery is located in a hard-to-reach position, and the first thing to do is disconnect the mass air sensor by moving the switch on it. Using an 8 mm socket, loosen the intake pipe from both the filter and the engine side. The filter assembly is held by two metal clips; simply unclip them, and the cover will be free to be removed. Then remove the actual filter, using just your hands, and pull up the remaining part of the assembly to clear the access area to the battery. During extraction, be careful with the pipe connected to the side of the filter box, which must also be removed manually. Using the 13 mm socket, remove the battery hold-down at the bottom of the bonnet, and with the 10 mm sockets, remove the negative terminal first and then the positive terminal. Carefully extract the battery. Follow the procedure in reverse, repositioning the battery, tightening the 13 mm hold-down, the terminals, and relocating the filter box and mass air sensor.
Updated on 20 March 2026 by ScegliAuto
Video tutorial
Related tutorials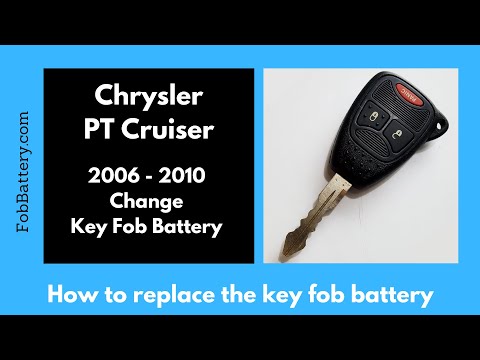
Chrysler Pt Cruiser
(2000-2010 /
MK 1)
The smart key for your Chrysler PT Cruiser has a very minimalist and simple external and internal structure. This greatly facilitates its disassembly…

Chrysler Pt Cruiser
(2000-2010 /
MK 1)
Today we will look at the instructions that will show us how to disassemble and replace the battery in the key fob of the Chrysler PT Cruiser. First,…

Chrysler Pt Cruiser
(2000-2010 /
MK 1)
This video shows the location of the fuse box for the 2006 Chrysler PT Cruiser, which is situated in the engine compartment on the driver's side abov…
Other guides you may be interested in
|
How to Open a Stuck Boot on the Peugeot 407?
On the Peugeot 407, the boot may become stuck, possibly due to a problem with the control button or the lock actuator. In such cases, you can perform an emergency opening by following the simple procedure shown in this tutorial. First, open the rear doors, then lower the seat back by operating the release lever. Next, go inside the boot, locate the lock, and manually operate it using a flathead screwdriver. The boot will then be free to open. by ScegliAuto More videos
|
|
For advertising on this site Write to info@scegliauto.com
ScegliAuto is not responsible for any inaccuracy of the data in the lists. To report any inaccuracy or your business (if you own the business in question), please write to info@scegliauto.com
Number of seconds to generate the page: 0.132
(c) ScegliAuto 2026 - info@scegliauto.com - Privacy policy VAT number: IT01247470535 |
