
|
Do it yourself
| |||
| ||||


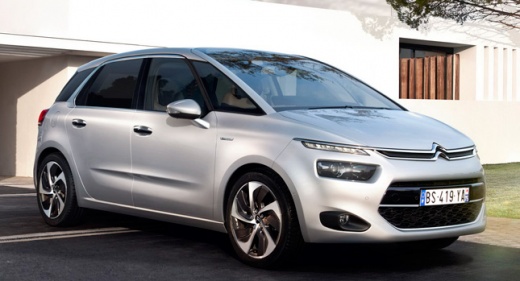
Resetting the AdBlue Warning Light on a Citroen C4 Picasso
Model: Citroen C4 Picasso
MK 2
- Years:
2013, 2014, 2015, 2016, 2017, 2018, 2019, 2020, 2021, 2022
Video tutorial
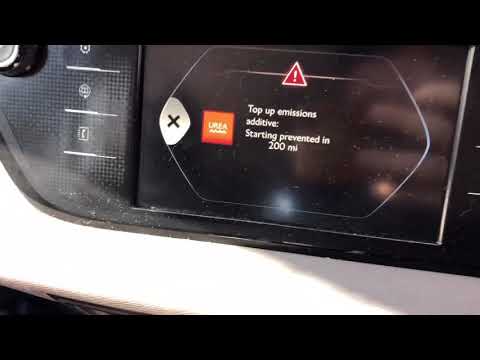
In this video, we can see how to resolve the issue of the engine warning light being on and the AdBlue warning light flashing on a Citroen C4 Picasso. The car indicates a remaining range of 621 miles before starting blockage. An OBD2 WiFi interface and a paid dedicated app (not specified in the video) are used. Connect the OBD2 tool to the diagnostic port, turn on the instrument cluster: the app could be Multiecuscan or CarScanner: we will erase the error codes in the "Engine ECU" section and then in the "SCR/AdBlue system". If the error returns, then the issue is either a faulty sensor, or the urea level is too low or contaminated. It could also be a faulty urea pump (this is an expensive fault).
Posted on 11 March 2026 by ScegliAuto
Related tutorials
Citroen C4 Picasso
(2013-2022 /
MK 2)
Briefly, we will see the instructions that will allow us to reset the AdBlue refill warning light on the Citroen C4 Picasso 1.6 BlueHDi. First, open …
Citroen C4 Picasso
(2013-2022 /
MK 2)
In this video, see how to add AdBlue to reset the emissions warning on a second series Citroen C4 Picasso with a BlueHDi engine. First, obtain some A…

Citroen C4 Picasso
(2013-2022 /
MK 2)
In this video, you will see how to top up AdBlue in the Citroen C4 Picasso after the warning light on the dashboard comes on. The AdBlue tank is loca…
Other guides you may be interested in
|
How to Remove the Rear Seat of a Hyundai Tucson?
To remove the rear seat of a Hyundai Tucson, follow these steps. Start by moving the front seats to their most forward position to gain space. Next, locate the release lever on the underside of the rear seat, near the floor. Press this lever down while pulling the seat upwards to unlock it from the anchor pins. Once unlocked, tilt the seat upwards and forwards to remove it from its position. Repeat this process for both sides of the rear seat. Be careful of any electrical cables or components that may be connected to the seat during removal. Once the rear seat is removed, the disassembly is complete. by ScegliAuto More videos
|
|
For advertising on this site Write to info@scegliauto.com
ScegliAuto is not responsible for any inaccuracy of the data in the lists. To report any inaccuracy or your business (if you own the business in question), please write to info@scegliauto.com
Number of seconds to generate the page: 0.073
(c) ScegliAuto 2026 - info@scegliauto.com - Privacy policy VAT number: IT01247470535 |
