
|
Do it yourself
| |||
| ||||


How to Check and Top Up Fluids in the Citroen C4
Model: Citroen C4
MK 1
- Years 2004-2010
This video tutorial will explain how to check the fluids in the Citroen C4; this operation is not only very simple but also essential for the proper functioning of the vehicle. Start by opening the bonnet of the C4 and check the engine oil level first. To perform this operation, the car must be off for at least a few minutes. Remove the oil dipstick from its casing and wipe it with a cloth, then reinsert it and remove it again. The level is considered optimal when it is between the minimum and maximum marks. If you notice the level is too low, add oil by unscrewing the cap next to the dipstick cap. Near the engine is the coolant reservoir; the same rule applies that the level must be between the minimum and maximum. On the right side of the engine is the brake fluid, which should be checked often as a low level can damage the brake pads. The windscreen washer fluid reservoir is located just below the coolant reservoir. This should also be checked as it allows you to clean the windscreen for optimal visibility of the road.
Updated on 2 September 2026 by ScegliAuto
Video tutorial
Related tutorials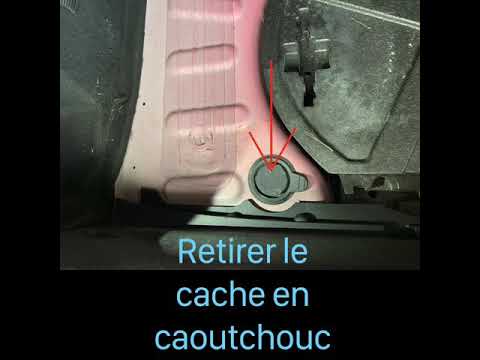
Citroen C4
(2010-2018 /
MK 2)
To reset the AdBlue light on a Citroën C4, you need to top up with the additive liquid, pouring it into the designated tank located at the rear lower…
Citroen C4
(2010-2018 /
MK 2)
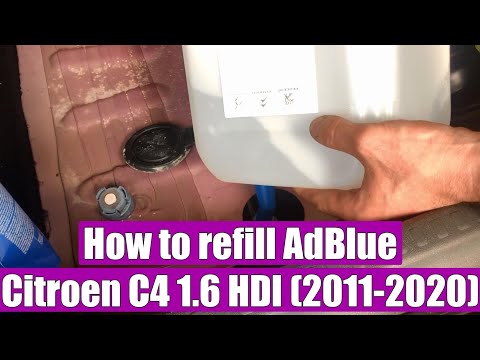
When the UREA warning light illuminates on the Citroën C4 display, it means you need to top up AdBlue, as the level in the tank is insufficient. To t…
Citroen C4
(2004-2010 /
MK 1)
To replace the timing chain on a Citroën C4, open the bonnet to access the components in the engine bay. On the left side, beneath the plastic cover,…
Other guides you may be interested in
|
Frequently Asked QuestionsHow to Replace the Battery on a Honda Vision 110
To replace the battery on a Honda Vision 110, you need to remove the front fairing of the motorcycle, located directly under the front headlamp. To loosen this panel, unscrew the two screws found at its top, just below the handlebar. Once these screws are loosened, lever under the panel to detach it, gaining access to the battery underneath: this battery must be removed from its housing by unscrewing the fixing screws and disconnecting the power cables, replacing it with a new one. by ScegliAuto More videos
|

|
For advertising on this site Write to info@scegliauto.com
ScegliAuto is not responsible for any inaccuracy of the data in the lists. To report any inaccuracy or your business (if you own the business in question), please write to info@scegliauto.com
Number of seconds to generate the page: 0.254
(c) ScegliAuto 2026 - info@scegliauto.com - Privacy policy VAT number: IT01247470535 |
