
|
Do it yourself
| |||
| ||||


How to Directly Connect the Cigarette Lighter to the Battery on a Fiat Panda 169
Model: Fiat Panda
169, MK 2
- Years 2003-2012
This guide shows how to make a direct electrical connection between the cigarette lighter and the battery of the Fiat Panda 169; this modification allows the use of the cigarette lighter even without the key inserted. First, remove the battery from its location and connectors for safety; then locate the wires leading to the cigarette lighter and only consider the two-coloured one. From the engine bay, with the fuse box open, locate fuse F44. Once the front cover of the fuse box is lifted, you will find the electrical wires related to the part to be repaired. To complete the operation, you will need to create a bridge between the fuse itself and the positive terminal of the battery that leads to the fuse box. The second wire from the fuse in question goes to the starter motor and this must be cut and connected to the battery wire. At this point, the operation can be considered complete.
Updated on 19 April 2026 by ScegliAuto
Video tutorial
Related tutorials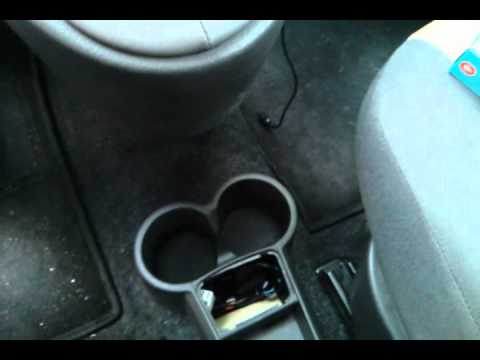
Fiat Panda
(2003-2012 /
169, MK 2)
In today's video, see how to replace the cigarette lighter bulb in the second series Fiat Panda. First, obtain a pointed object, such as a flat-head …
Fiat Panda
(2003-2012 /
169, MK 2)
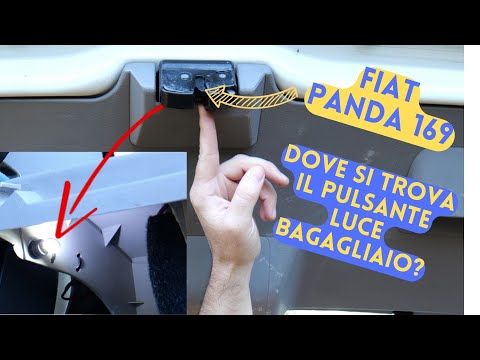
This brief video will explain how to replace the boot light bulb and the mechanism that allows it to turn on. To change the bulb located on the boot …
Fiat Panda
(2003-2012 /
169, MK 2)
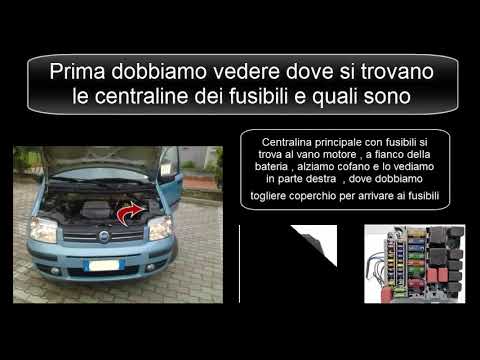
The video shows where the fuses are located in the Fiat Panda 2 and some of their characteristics. The first box is located in the engine bay, next t…
Other guides you may be interested in
|
How to Check the Oil Level on a Jeep Renegade?
To check the oil level on a Jeep Renegade, you need to open the bonnet to access the components inside the engine bay: on the lower left side of the engine block, you will find the dipstick for checking the level. This should be pulled out and thoroughly cleaned with a cloth: once cleaned, reinsert it back into its tube and pull it out immediately after. This way, you can check that the oil mark is between the minimum and maximum levels; finally, you can place the dipstick back in its tube. by ScegliAuto More videos
|

|
For advertising on this site Write to info@scegliauto.com
ScegliAuto is not responsible for any inaccuracy of the data in the lists. To report any inaccuracy or your business (if you own the business in question), please write to info@scegliauto.com
Number of seconds to generate the page: 0.449
(c) ScegliAuto 2026 - info@scegliauto.com - Privacy policy VAT number: IT01247470535 |
