
|
Do it yourself
| |||
| ||||


How to Replace the "Fiat" Logo on the Fiat Panda?
Model: Fiat Panda
319, MK 3
- Years 2012-2026
To remove and replace the trim with the "Fiat" logo both front and rear, follow these steps: the logo is fixed with adhesive, so heat the logo using a hairdryer. Take a piece of dental floss and insert it between the trim and the bodywork, then start to detach the logo gently until the entire trim is removed. Use a solvent to remove any adhesive residue from the bodywork. Take the new logo, remove the protective film from the adhesive side, and heat it with the hairdryer before positioning it on the bodywork, aligning the two pins with the holes present on the body.
Updated on 14 May 2026 by ScegliAuto
Video tutorial
Related tutorials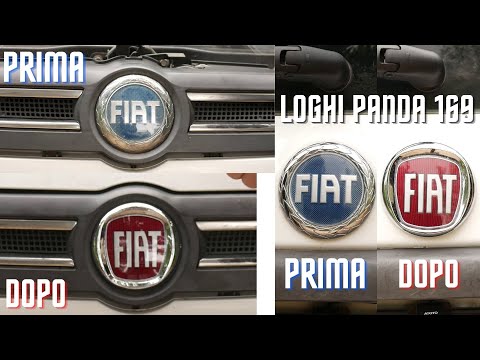
Fiat Panda
(2003-2012 /
169, MK 2)
To replace the old blue Fiat logo on the Panda with the newer red one, simply remove the old logo using a small flathead screwdriver or a heat gun. T…
Fiat Panda
(2003-2012 /
169, MK 2)
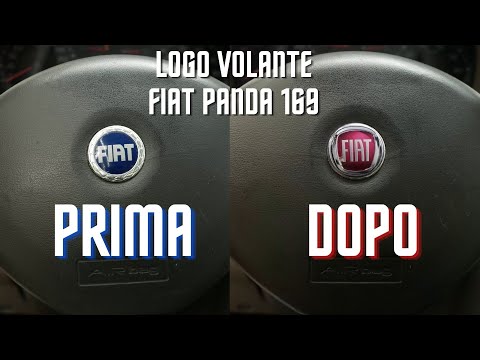
In today's video, discover how to replace the logo on a Fiat Panda 169. Specifically, how to swap the original blue logo for the post-2007 red one. F…
Fiat Panda
(2003-2012 /
169, MK 2)
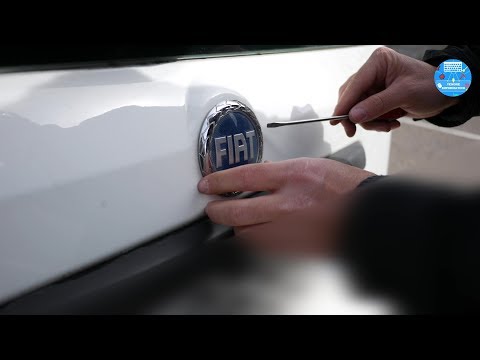
How to remove the black plastic centre grille with the logo from the front bumper of a Fiat Panda? Once you have opened and lifted the bonnet of the …
Other guides you may be interested in
|
Frequently Asked QuestionsHow to Adjust the Brightness of the Instrument Cluster on a Peugeot 3008?
To adjust the brightness of the instrument cluster on a Peugeot 3008, you need to turn on the ignition and access the settings via the menu located in the central area of the dashboard. In the screen that appears, select the "Display Configuration" option: now, by selecting the "Brightness" option, you can adjust it using the dedicated slider that will appear on the screen. The adjustment should be made with the headlights on as well as with them off. Once the adjustment is complete, you can turn off the instrument cluster. by ScegliAuto More videos
|
|
For advertising on this site Write to info@scegliauto.com
ScegliAuto is not responsible for any inaccuracy of the data in the lists. To report any inaccuracy or your business (if you own the business in question), please write to info@scegliauto.com
Number of seconds to generate the page: 0.110
(c) ScegliAuto 2026 - info@scegliauto.com - Privacy policy VAT number: IT01247470535 |
