
|
Do it yourself
| |||
| ||||


Essential Tasks for a Service on a Fiat Panda 169 1.3 MultiJet
Model: Fiat Panda
169, MK 2
- Years 2003-2012
In this video, we can see the essential checks to perform for a full service on the Fiat Panda 169 1.3 MultiJet. To loosen the oil filter, remove the air hose. Let it drain into a container and also let the engine oil drain by removing the plug from the sump (remember that used engine oil must be disposed of correctly at an authorised centre). Fit a new plug and a new filter. Change the fuel filter as well, then replace the air filter; refill with new engine oil, checking immediately to ensure the level is correct. Don’t forget the cabin air filter, clean the engine bay, reset the service light, do a quick check of the levels, and you will have completed everything needed.
Updated on 29 August 2026 by ScegliAuto
Video tutorial
Related tutorials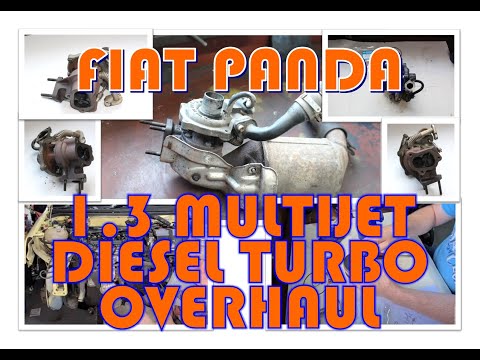
Fiat Panda
(2003-2012 /
169, MK 2)
This guide outlines the main steps to carry out the overhaul of the turbocharger on the second series Fiat Panda with a 1.3 MultiJet engine. First, o…
Fiat Panda
(2003-2012 /
169, MK 2)
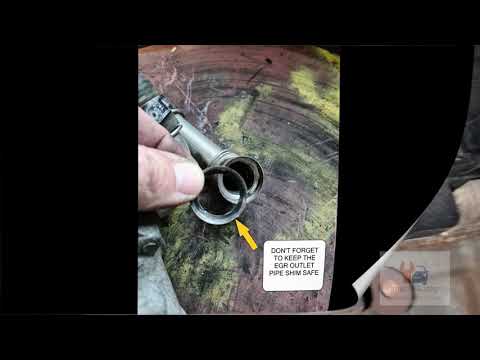
In today's tutorial, you will learn how to remove the EGR valve on the Fiat Panda 169 with a 1.3 MultiJet engine. First, open the bonnet of your car …
Fiat Panda
(2003-2012 /
169, MK 2)
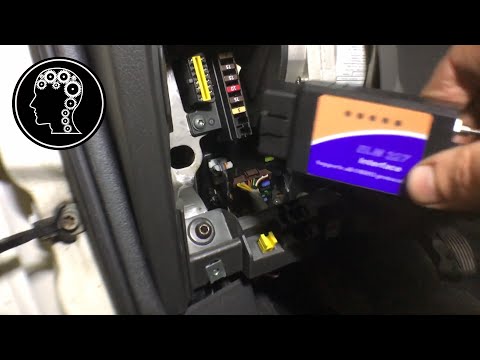
In today's video, you will reset the service light for the regular oil change maintenance on a Fiat Panda 1.3 MultiJet second series, but this also a…
Other guides you may be interested in
|
Frequently Asked QuestionsHow to Bleed the Clutch on a Renault Clio?
To bleed the clutch on a Renault Clio, open the bonnet to access the components located in the engine bay: here, you will need to undo the screws that secure the battery in its housing, the intake manifold, and the coolant reservoir. This will allow you to locate the pipe through which the brake fluid flows: by inserting the other end of the pipe into a container, you can press the clutch pedal to expel all the fluid until it fills the container. by ScegliAuto More videos
|

|
For advertising on this site Write to info@scegliauto.com
ScegliAuto is not responsible for any inaccuracy of the data in the lists. To report any inaccuracy or your business (if you own the business in question), please write to info@scegliauto.com
Number of seconds to generate the page: 0.535
(c) ScegliAuto 2026 - info@scegliauto.com - Privacy policy VAT number: IT01247470535 |
