
|
Do it yourself
| |||
| ||||


Replacement of the cabin air filter of the Ford Ecosport
Model: Ford Ecosport
BK, MK 1
- Years 2012-2023
These brief instructions will show us how to disassemble and replace the cabin air filter of the Ford Ecosport. First of all, we get into the car and start by removing the plastic cover found under the dashboard; then we remove the side plastic cover found at the bottom and subsequently remove the pollen filter cover, as shown in the video. At this point, we remove and replace the pollen filter cartridge, inserting it in the correct direction; we reassemble the plastic cover and reattach the plastic cover located under the air conditioning controls!
Posted on 1 February 2025 by ScegliAuto
Video tutorial
Related tutorials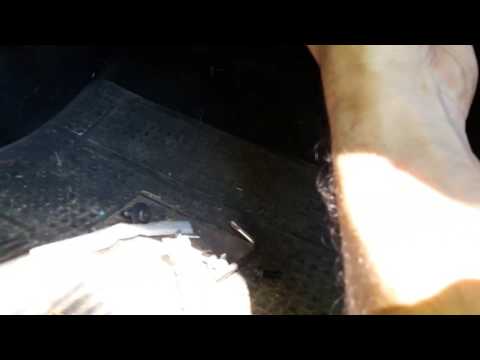
Ford Ecosport
(2012-2023 /
BK, MK 1)
Let's see how to remove the pollen filter in the cabin of a Ford Ecosport. The cabin filter is located at the bottom left of the glove compartment. U…

Ford Ecosport
(2012-2023 /
BK, MK 1)
The following steps will allow us to disassemble and replace the cabin air filter of the Ford Ecosport. First, we get into the car and start by remov…

Ford Ecosport
(2012-2023 /
BK, MK 1)
To access the cabin air filter (or pollen filter) on Ford Ecosport you will need to work in the area below the glove box. Start by unscrewing the scr…
Other guides you may be interested in
|
Removing the Rear Door Panel of the Punto Evo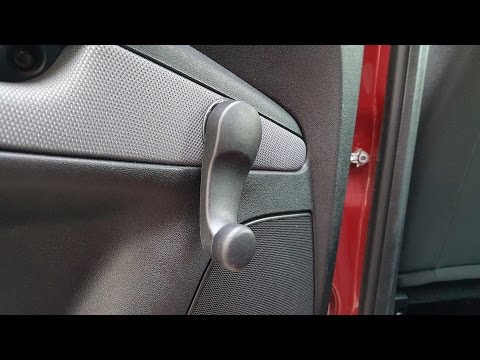
Here’s how to remove the rear door panel: gently pull the window lift lever and detach the metal clip holding it in place using a flathead screwdriver; once removed, take off the plastic cap behind the door opening lever and unscrew the hex screw inside, along with the two screws located under the panel handle as shown in the video. After removing the two cross-head screws under the door panel, you can detach it from the door using two levers to extract the plastic clips (taking care not to break them). Once the panel is separated, disconnect the wire that operates the door opening lever by detaching it from its housing as demonstrated in the video. After completing the necessary operation (in the video, the window lifter was being fixed), proceed in reverse order to reposition the panel, close it, and secure it. by ScegliAuto More videos
|
|
For advertising on this site Write to info@scegliauto.com
ScegliAuto is not responsible for any inaccuracy of the data in the lists. To report any inaccuracy or your business (if you own the business in question), please write to info@scegliauto.com
Number of seconds to generate the page: 0.146
(c) ScegliAuto 2026 - info@scegliauto.com - Privacy policy VAT number: IT01247470535 |