
|
Do it yourself
| |||
| ||||


Removing Transmission for Clutch Replacement
Model: Honda Civic
MK 6
- Years 1995-2001
Position the vehicle on the ramp and remove the wheels. Drain the differential oil by removing the relevant plug and placing a collector underneath. Free the wheel support arms from the brake assembly on both sides to detach the drive shafts from the differential housing. Also remove the stabiliser bar by loosening the two bolts with a 12 mm spanner. Disconnect the driveshaft from the propshaft and begin to unfasten the transmission assembly by loosening the support bolts without removing them. Lower the ramp to bring the vehicle to the ground. Remove the air box and associated pipes to access the underlying mechanics. For safety, also disconnect the negative terminal of the battery. Remove the engine rubber mount and the power cable of the starter motor, then remove the starter motor itself. Also remove the speedometer cable. Now you can fully unscrew the support bolts of the differential.
Updated on 3 February 2026 by ScegliAuto
Video tutorial
Related tutorials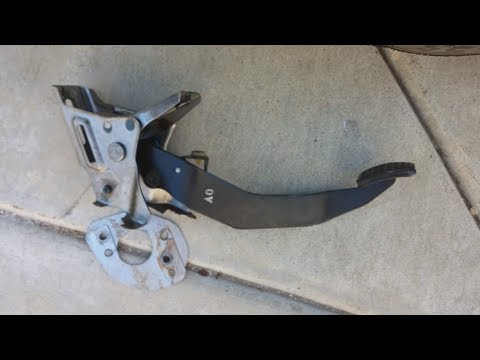
Honda Civic
(1992-1995 /
MK 5)
Begin by entering the cabin at the driver's seat. Proceed to remove the lower carpet in the pedal area. Then, disconnect the clutch pump from the ped…
Honda Civic
(1995-2001 /
MK 6)
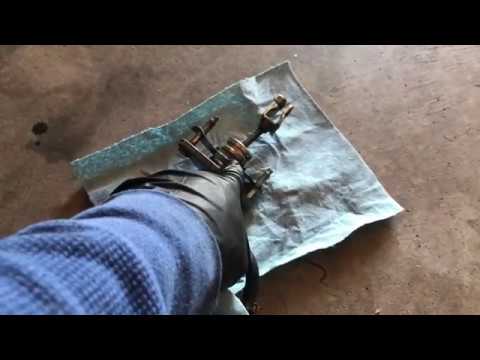
In this guide, remove and replace the clutch pump or master cylinder on your Honda Civic. First, open the bonnet of your car and start by removing th…
Honda Civic
(1995-2001 /
MK 6)
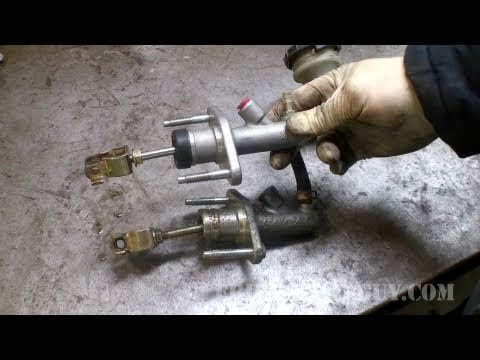
Open the front bonnet and ensure it is securely supported; at the rear right of the engine bay (when viewed from the front), you can locate the clutc…
Other guides you may be interested in
|
How to Replace the Battery on a Honda Vision 110
To replace the battery on a Honda Vision 110, you need to remove the front fairing of the motorcycle, located directly under the front headlamp. To loosen this panel, unscrew the two screws found at its top, just below the handlebar. Once these screws are loosened, lever under the panel to detach it, gaining access to the battery underneath: this battery must be removed from its housing by unscrewing the fixing screws and disconnecting the power cables, replacing it with a new one. by ScegliAuto More videos
|
|
For advertising on this site Write to info@scegliauto.com
ScegliAuto is not responsible for any inaccuracy of the data in the lists. To report any inaccuracy or your business (if you own the business in question), please write to info@scegliauto.com
Number of seconds to generate the page: 0.202
(c) ScegliAuto 2026 - info@scegliauto.com - Privacy policy VAT number: IT01247470535 |
