
|
Do it yourself
| |||
| ||||


Replacement of the Acoustic Warning Device
Model: Honda CR-V
MK 4
- Years 2012-2017
The acoustic warning device is crucial for road safety; in case of failure, it must be replaced immediately. The acoustic warning device is located behind the front grille and is accessible by removing the bolts of the support bracket located at the top of the grille. Once the bolts are removed, carefully extract the bracket, then disconnect the electrical connection and subsequently the faulty warning device. Install the new warning device and reassemble the bracket, ensuring that the bolts are tightened securely to prevent vibrations from loosening them. Perform a functionality test.
Updated on 6 February 2026 by ScegliAuto
Video tutorial
Related tutorials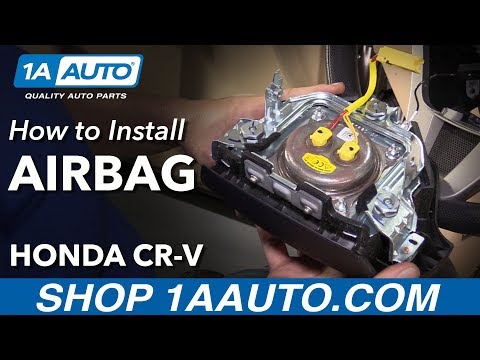
Honda CR-V
(2007-2012 /
MK 3)
A crucial component for your safety.
To access it, remove the panel on the underside of the steering wheel and disconnect the connectors, which shoul…
Honda CR-V
(2007-2012 /
MK 3)
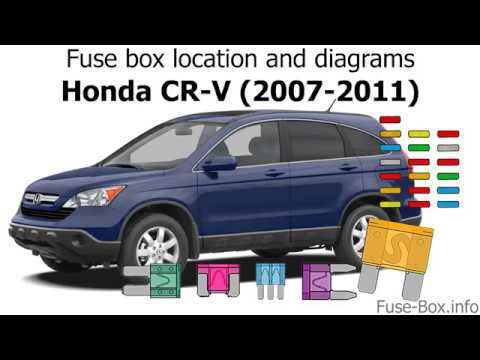
The fuses in the Honda CR-V are located inside the designated fuse boxes mounted on the vehicle: the first is behind the plastic panel located at the…
Honda CR-V
(2012-2017 /
MK 4)
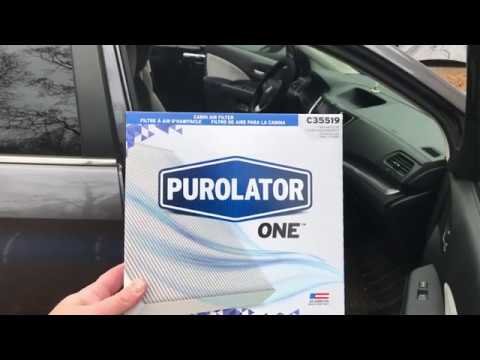
To replace the air filter on a Honda CR-V, open the bonnet to access the components inside the engine bay: immediately to the right of the engine blo…
Other guides you may be interested in
|
How to Replace the Battery on a Honda Vision 110
To replace the battery on a Honda Vision 110, you need to remove the front fairing of the motorcycle, located directly under the front headlamp. To loosen this panel, unscrew the two screws found at its top, just below the handlebar. Once these screws are loosened, lever under the panel to detach it, gaining access to the battery underneath: this battery must be removed from its housing by unscrewing the fixing screws and disconnecting the power cables, replacing it with a new one. by ScegliAuto More videos
|
|
For advertising on this site Write to info@scegliauto.com
ScegliAuto is not responsible for any inaccuracy of the data in the lists. To report any inaccuracy or your business (if you own the business in question), please write to info@scegliauto.com
Number of seconds to generate the page: 0.105
(c) ScegliAuto 2026 - info@scegliauto.com - Privacy policy VAT number: IT01247470535 |
