
|
Do it yourself
| |||
| ||||


Replacement of Cabin Air Filters
Model: Honda CR-V
MK 2
- Years 2002-2007
This tutorial covers the extraction and replacement of the two cabin air filters in a Honda CR-V. Open the glove compartment on the passenger side. Remove the two clips located on each side of the drawer; you may use the tip of a flat screwdriver as a small lever to assist. You will now have access to the filter compartment, but first, remove the grille cover that protects it by disengaging the lever on its left side. Extract the first filter. Slide it to the left to also remove the second one. At this point, take each filter out of their frames and insert two new filters into them. Place the first filter into the compartment and slide it to the right; insert the second and replace the protective cover. Refit the side clips of the glove compartment and close it.
Updated on 9 February 2026 by ScegliAuto
Video tutorial
Related tutorials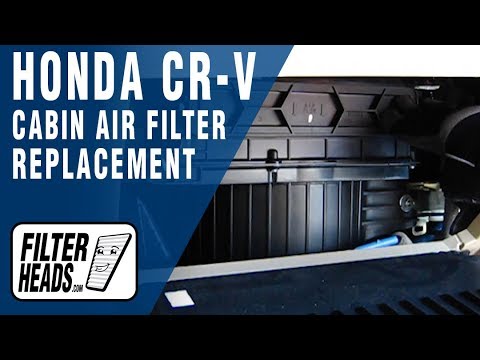
Honda CR-V
(2007-2012 /
MK 3)
The cabin air filter is located on the passenger side, behind the glove compartment door. Open the glove compartment door and detach the side stop ro…
Honda CR-V
(2007-2012 /
MK 3)
A clogged air filter results in reduced engine performance and excessive fuel consumption. If the air filter is not changed regularly, it restricts a…
Honda CR-V
(2002-2007 /
MK 2)
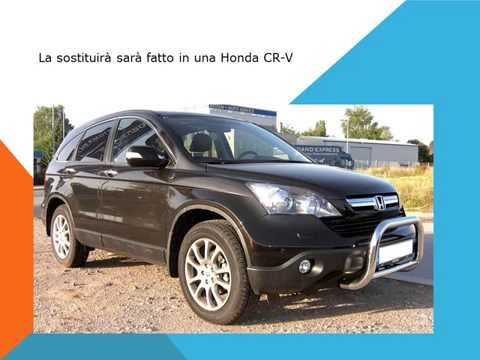
The cabin air filter on this car model is located on the passenger side, just behind the glove compartment: to replace it, open the glove compartment…
Other guides you may be interested in
|
How to Replace the Battery on a Honda Vision 110
To replace the battery on a Honda Vision 110, you need to remove the front fairing of the motorcycle, located directly under the front headlamp. To loosen this panel, unscrew the two screws found at its top, just below the handlebar. Once these screws are loosened, lever under the panel to detach it, gaining access to the battery underneath: this battery must be removed from its housing by unscrewing the fixing screws and disconnecting the power cables, replacing it with a new one. by ScegliAuto More videos
|

|
For advertising on this site Write to info@scegliauto.com
ScegliAuto is not responsible for any inaccuracy of the data in the lists. To report any inaccuracy or your business (if you own the business in question), please write to info@scegliauto.com
Number of seconds to generate the page: 0.168
(c) ScegliAuto 2026 - info@scegliauto.com - Privacy policy VAT number: IT01247470535 |
