
|
Do it yourself
| |||
| ||||



Stretched timing chain on a Hyundai i10
Model: Hyundai I10
MK 2, IA
- Years:
2013, 2014, 2015, 2016, 2017, 2018, 2019, 2020
Video tutorial
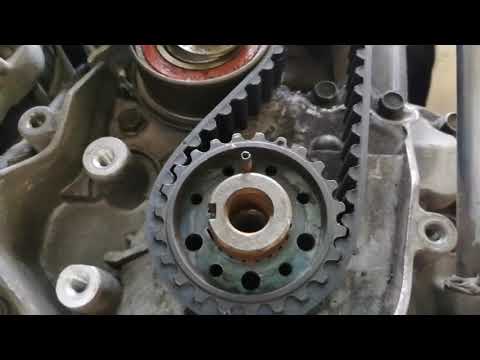
In this video, we will see a stretched timing chain on a Hyundai i10: it is indicated in diagnostics by the error P0011 (camshaft position advance) and P0335 (crankshaft position circuit). Remove the front wheel on the driver's side and the inner splash guard, then take out the headlight and decompress the air conditioning. Raise the vehicle sufficiently to drain the oil and water. Next, remove the water pump pulley and the alternator until you can take off the timing cover. Now align it to top dead centre, where you will find the alignment mark. Release the tension on the chain with a crowbar and a pin that you will insert into the locking hole; remove the guides, and you can take off the chain. The chains have different coloured links that correspond to the poles, which help during installation. Naturally, new tensioners and seals are needed, but before installation, soak the chain in oil for a while. The most delicate part is resetting the engine timing during reassembly, ensuring the dots are aligned on the camshafts. Now the chain is properly tensioned. Next, apply a bead of sealant around the cover and let it dry for about 15 minutes before fitting it back in place. Reassemble all other components and then start the engine. Follow up with the restoration of all adaptive values in the ECU.
Updated on 22 August 2026 by ScegliAuto
Related tutorials
Hyundai I10
(2007-2013 /
PA, MK 1)
In today's guide, you will see the main instructions for removing and replacing the timing chain on the Hyundai I10 1.2 petrol. First, open the bonne…

Hyundai I10
(2007-2013 /
PA, MK 1)
The instructions in this guide will outline the main steps for removing and replacing the timing chain on the Hyundai I10 1.2. First, open the engine…
Hyundai I10
(2007-2013 /
PA, MK 1)
This brief guide provides the main instructions on how and when to change the timing belt on the first-generation Hyundai I10 with a 1.1 petrol engin…
Other guides you may be interested in
|
Frequently Asked QuestionsHow to Remove the Rear Seat of a Hyundai Tucson?
To remove the rear seat of a Hyundai Tucson, follow these steps. Start by moving the front seats to their most forward position to gain space. Next, locate the release lever on the underside of the rear seat, near the floor. Press this lever down while pulling the seat upwards to unlock it from the anchor pins. Once unlocked, tilt the seat upwards and forwards to remove it from its position. Repeat this process for both sides of the rear seat. Be careful of any electrical cables or components that may be connected to the seat during removal. Once the rear seat is removed, the disassembly is complete. by ScegliAuto More videos
|
|
For advertising on this site Write to info@scegliauto.com
ScegliAuto is not responsible for any inaccuracy of the data in the lists. To report any inaccuracy or your business (if you own the business in question), please write to info@scegliauto.com
Number of seconds to generate the page: 0.043
(c) ScegliAuto 2026 - info@scegliauto.com - Privacy policy VAT number: IT01247470535 |
