
|
Do it yourself
| |||
| ||||


How to replace the heater radiator resistor of the Land Rover Discovery
Model: Land Rover Discovery
MK 2, Discovery 2, L318
- Years 1998-2004
Today we will explain how to replace the heater radiator resistor of the Land Rover Discovery series 2. The resistor can be purchased online or at auto parts stores, the model we will need to purchase has the code JGN100010. To perform the replacement, we must open the passenger side door and remove the carpet from the footwell, then remove the lower part of the glove compartment, using a 13mm wrench for the lower bolts and a 10mm wrench for the upper bolts. To remove the drawer, we must unscrew the two 7mm bolts and open the drawer to unscrew the pins counterclockwise, thus removing the drawer. Using a flat tip screwdriver with an extension, unscrew the screw on the resistor and after disconnecting the connector, perform the replacement. Then connect the connector and screw in the locking screw. Mount the drawer by screwing in the lower bolts with a 7mm wrench and screwing in the pins clockwise. Mount the lower part of the bracket using a 10mm wrench for the upper screws and a 13mm wrench for the lower screws. Position the carpet and turn on the heating to check that the replacement has been successful, otherwise it may be necessary to replace the fuse related to the radiator.
Posted on 15 February 2025 by ScegliAuto
Video tutorial
Related tutorials
…
Land Rover Discovery
(1998-2004 /
MK 2, Discovery 2, L318)
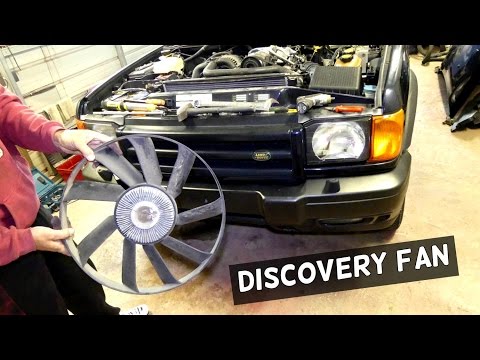
Before you begin, open the hood of your Land Rover Discovery. Start by unscrewing and removing the four screws that secure the upper cover of the fan…
Land Rover Discovery
(2004-2010 /
MK 3, LR3, Discovery 3, L319)
In this video tutorial, you will see the main steps to replace the thermostat on a Land Rover Discovery. First, lift the hood and start removing the …
Other guides you may be interested in
|
How to Reset the Tyre Pressure Light on the Opel Grandland X
While driving, if you notice the tyre pressure warning light coming on, first check the actual inflation pressure of the tyres and, if necessary, restore the pressures recommended by the manufacturer. After restoring the correct pressures, you need to reset the warning light that has illuminated on the instrument cluster. To do this, locate the reset button on the lower central console. Press this button and hold it down for at least 3 seconds, after which the low pressure indication will turn off. by ScegliAuto More videos
|
|
For advertising on this site Write to info@scegliauto.com
ScegliAuto is not responsible for any inaccuracy of the data in the lists. To report any inaccuracy or your business (if you own the business in question), please write to info@scegliauto.com
Number of seconds to generate the page: 0.110
(c) ScegliAuto 2026 - info@scegliauto.com - Privacy policy VAT number: IT01247470535 |
