
|
Do it yourself
| |||
| ||||



Error P049B: EGR Valve on Range Rover Evoque
Model: Land Rover Evoque
L538, MK 1
- Years:
2011, 2012, 2013, 2014, 2015, 2016, 2017, 2018
Video tutorial
We have a Range Rover Evoque in the shop. After repairing the turbo, the vehicle still shows a problem: error code P049B, which indicates a malfunction of the low-pressure EGR valve. The EGR valve (exhaust gas recirculation) has two circuits: high and low pressure. Code P049B specifically refers to the low-pressure circuit. It can be a mechanical issue (stuck, dirty, or seized valve) or electrical (sensor, wiring, or actuator). Connect the diagnostic tool and confirm code P049B. Check the live parameters of the low-pressure EGR valve: opening, position, electrical signal. Visually inspect the valve and hoses: look for obstructions, leaks, corroded or disconnected connectors. Test the actuator (if electric): verify that it receives power and command. Disassemble and clean the valve (if accessible) - often the problem is carbon buildup that blocks movement. In case of electrical failure, check the wires and connector (short circuits, breaks, dirty contacts). If the valve is irreparable, replace it with a new one.
Posted on 17 June 2026 by ScegliAuto
Related tutorials
Land Rover Evoque
(2011-2018 /
L538, MK 1)
In this video, you will see how to replace the EGR valve on a Land Rover Evoque: to access the valve, you need to remove the oil separator from the c…

Land Rover Evoque
(2011-2018 /
L538, MK 1)
In this new mini guide, we will help you complete the procedure that allows you to manually reset the service light on the instrument panel of your f…
Land Rover Evoque
(2011-2018 /
L538, MK 1)
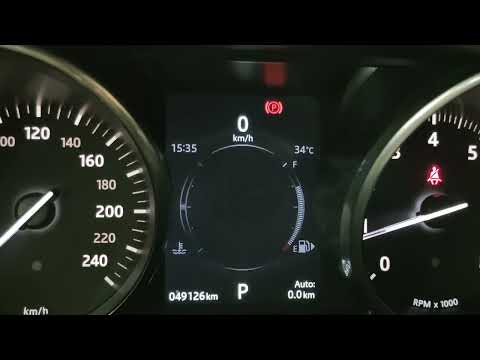
Today, let's go through the steps to reset the tire pressure light on the Land Rover Range Rover Evoque. First, get in the vehicle and turn on the ig…
Other guides you may be interested in
|
How to Remove the Rear Seat of a Hyundai Tucson?
To remove the rear seat of a Hyundai Tucson, follow these steps. Start by moving the front seats to their most forward position to gain space. Next, locate the release lever on the underside of the rear seat, near the floor. Press this lever down while pulling the seat upwards to unlock it from the anchor pins. Once unlocked, tilt the seat upwards and forwards to remove it from its position. Repeat this process for both sides of the rear seat. Be careful of any electrical cables or components that may be connected to the seat during removal. Once the rear seat is removed, the disassembly is complete. by ScegliAuto More videos
|
|
For advertising on this site Write to info@scegliauto.com
ScegliAuto is not responsible for any inaccuracy of the data in the lists. To report any inaccuracy or your business (if you own the business in question), please write to info@scegliauto.com
Number of seconds to generate the page: 1.021
(c) ScegliAuto 2026 - info@scegliauto.com - Privacy policy VAT number: IT01247470535 |
