
|
Do it yourself
| |||
| ||||


Removing Fuel Pump on Freelander TD4
Model: Land Rover Freelander
Freelander 1
- Years:
1997, 1998, 1999, 2000, 2001, 2002, 2003, 2004, 2005, 2006
Video tutorial
Switch off the car and remove the ignition key. Unscrew the bolts of the left rear wheel, lift the car with a jack, and remove the wheel: the fuel pump is located behind the wheel. Disconnect the ABS wiring carefully without damaging it. Next, unscrew the two bolts securing the fuel filter (use a lubricant to make it easier to unscrew) and remove it as well. To disconnect the pump connectors, simply press the tabs and pull from the connector, not the wires. Now you can unscrew and remove the fuel pump for replacement or to replace some parts.
Updated on 1 April 2026 by ScegliAuto
Related tutorials
Land Rover Freelander
(1997-2006 /
Freelander 1)
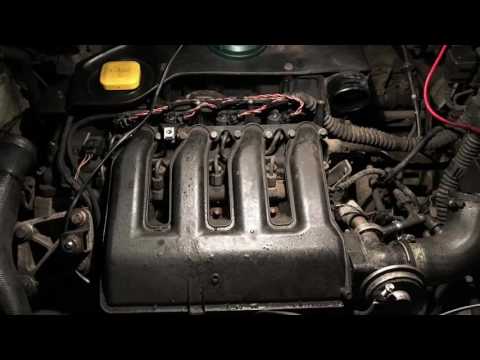
Today's information will be useful in the process of removing and replacing the high-pressure fuel pump on the Land Rover Freelander TD4. First, open…
Land Rover Freelander
(2006-2016 /
Freelander 2)
Today, we will cover the main instructions for removing and replacing the high-pressure fuel pump on the Land Rover Freelander TD4. First, open the b…
Land Rover Freelander
(1997-2006 /
Freelander 1)
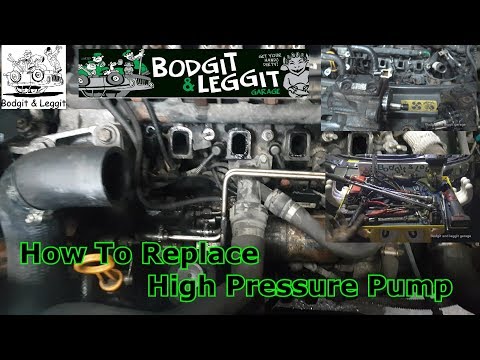
This video provides instructions to remove and replace the high-pressure fuel pump on the Land Rover Freelander TD4. First, open the bonnet and remov…
Other guides you may be interested in
|
How to Reset the Tire Pressure Light on a MG ZS?
On the instrument cluster of the MG ZS, the tire pressure light that appears can be reset by inflating the tires to the correct pressure: this value will be indicated on the sticker attached to the driver's door pillar. Once the tires have been properly inflated, you can turn on the instrument cluster and navigate through the menu until you find the option that indicates tire pressure: if this screen shows the new values, the light will turn off; otherwise, you will need to drive for a few miles so that the sensors can read the new values and turn off the light afterward. by ScegliAuto More videos
|
|
For advertising on this site Write to info@scegliauto.com
ScegliAuto is not responsible for any inaccuracy of the data in the lists. To report any inaccuracy or your business (if you own the business in question), please write to info@scegliauto.com
Number of seconds to generate the page: 0.111
(c) ScegliAuto 2026 - info@scegliauto.com - Privacy policy VAT number: IT01247470535 |
