
|
Do it yourself
| |||
| ||||


News on the distribution chains of the Land Rover Evoque
Model: Land Rover Evoque
L538, MK 1
- Years 2011-2018
In this video, we are shown the constructive differences that have been made on the latest models of the Land Rover Evoque's distribution chains; for some time now, the profiles of the shafts and counter-shafts have been modified, and then there was the modification of the gear that connects the two chains, which in the latest type has a tensioner inside it, in order to better withstand the engine's stresses towards the chains, and should serve to extend the life of these components. Certainly a useful thing, but we must always remember to use quality oil that does not leave residues like the ones the YouTuber shows us inside the crankcase: residues that are generated by poor quality oil. On delicate engines like these, we should only use the best, like the one recommended to us: Castrol Edge.
Posted on 13 April 2024 by ScegliAuto
Video tutorial
Related tutorials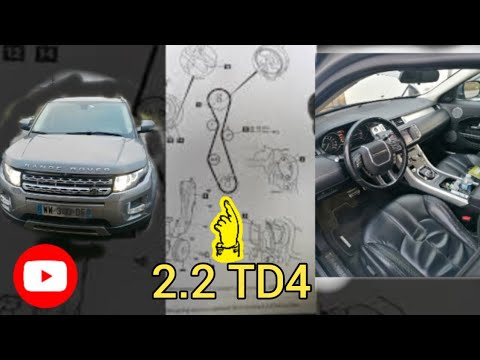
Land Rover Evoque
(2011-2018 /
L538, MK 1)
In this guide, we will cover the main steps to remove and replace the timing belt on the Land Rover Evoque 2.2 TD4. First, open the hood and start by…

Land Rover Evoque
(2018-2026 /
L551, MK 2)
Today we will explain how to replace the timing belt of the Land Rover Evoque 2. To replace the timing belt, we need to open the front hood and loose…
Land Rover Evoque
(2011-2018 /
L538, MK 1)
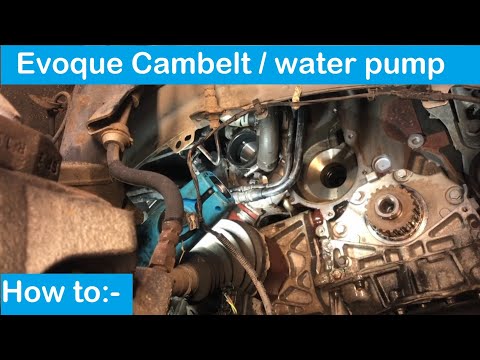
To replace the timing belt on a Land Rover Evoque, loosen the bolts securing the right front wheel and those securing the inner fender cover. By remo…
Other guides you may be interested in
|
How to Replace the Battery on a Honda Vision 110
To replace the battery on a Honda Vision 110, you need to remove the front fairing of the motorcycle, located directly under the front headlamp. To loosen this panel, unscrew the two screws found at its top, just below the handlebar. Once these screws are loosened, lever under the panel to detach it, gaining access to the battery underneath: this battery must be removed from its housing by unscrewing the fixing screws and disconnecting the power cables, replacing it with a new one. by ScegliAuto More videos
|

|
For advertising on this site Write to info@scegliauto.com
ScegliAuto is not responsible for any inaccuracy of the data in the lists. To report any inaccuracy or your business (if you own the business in question), please write to info@scegliauto.com
Number of seconds to generate the page: 0.155
(c) ScegliAuto 2026 - info@scegliauto.com - Privacy policy VAT number: IT01247470535 |
