
|
Do it yourself
| |||
| ||||



Replacement of Front Discs and Pads
Model: Lexus IS
MK 3
- Years:
2013, 2014, 2015, 2016, 2017, 2018, 2019, 2020, 2021, 2022, 2023, 2024
This video is currently unavailable
Lift the vehicle on suitable axle stands and remove the front wheel; proceed to remove the brake caliper, extract the old pads and also remove the caliper support; at this point, remove the disc using the two threaded holes as a puller by inserting two pins; clean and grease the disc seat, install the new one after cleaning off the protective oil and proceed in reverse order by installing the caliper support, the new pads, and the caliper itself after retracting the piston; it is advisable to apply copper grease to the back of the pads, on the sliding plates, and on the caliper fixing pins to prevent vibrations and the annoying squeal of the pads during braking.
Updated on 16 February 2026 by ScegliAuto
Related tutorials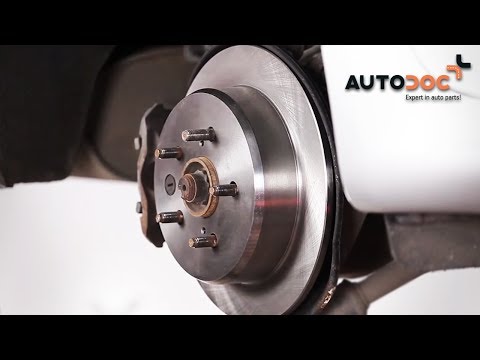
Lexus IS
(2005-2013 /
MK 2)
To replace the rear discs and pads, lift the vehicle and remove the rear wheel. Disconnect the first spring, the outer one, located just behind the p…
Lexus IS
(2005-2013 /
MK 2)
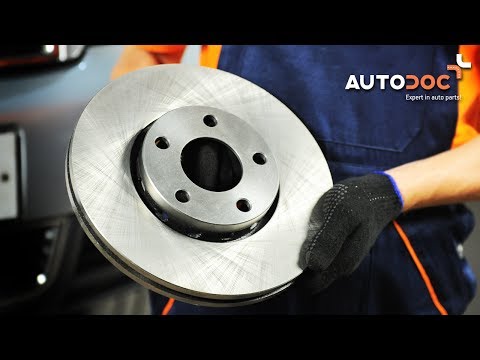
It is good practice to replace the pads when you decide to replace the brake discs. To replace the discs, lift the vehicle, remove the front wheel, a…
Lexus IS
(2005-2013 /
MK 2)
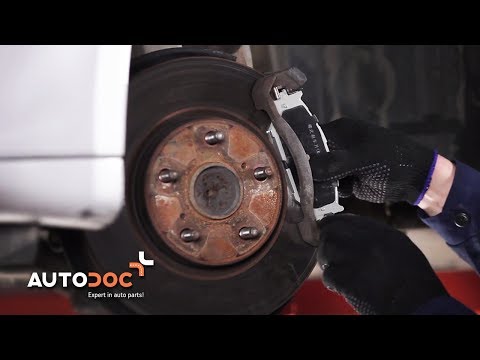
Replacing the brake pads is one of the easiest maintenance tasks you can perform yourself: lift the vehicle on a jack or hydraulic lift if possible; …
Other guides you may be interested in
|
How to Remove the Rear Seat of a Hyundai Tucson?
To remove the rear seat of a Hyundai Tucson, follow these steps. Start by moving the front seats to their most forward position to gain space. Next, locate the release lever on the underside of the rear seat, near the floor. Press this lever down while pulling the seat upwards to unlock it from the anchor pins. Once unlocked, tilt the seat upwards and forwards to remove it from its position. Repeat this process for both sides of the rear seat. Be careful of any electrical cables or components that may be connected to the seat during removal. Once the rear seat is removed, the disassembly is complete. by ScegliAuto More videos
|
|
For advertising on this site Write to info@scegliauto.com
ScegliAuto is not responsible for any inaccuracy of the data in the lists. To report any inaccuracy or your business (if you own the business in question), please write to info@scegliauto.com
Number of seconds to generate the page: 0.033
(c) ScegliAuto 2026 - info@scegliauto.com - Privacy policy VAT number: IT01247470535 |
