
|
Do it yourself
| |||
| ||||


How to Change the Oil and Oil Filter of the Lincoln Aviator
Model: Lincoln Aviator
MK 2
- Years 2020-2026
To change the oil and oil filter of the Lincoln Aviator, start by opening the hood, lifting the oil dipstick, and going under the vehicle. Remove the oil pan cover, unscrew the oil drain plug, and let the oil drain into a container. While the oil is draining, go to the top of the engine, and using a socket wrench and extensions, unscrew the oil filter. After removing the oil filter with the old gaskets, take the new oil filter and new gaskets, place them on the housing, and screw the oil filter back on with a socket wrench. Now, remove the oil fill cap, insert a funnel, and pour in the specified quarts from the manufacturer; when you are close to the specified quarts, check that the oil level is at the max mark. If the level is at that mark, you can close the oil fill cap; otherwise, if it is low, top it off.
Updated on 17 May 2026 by ScegliAuto
This video is currently unavailable
Related tutorials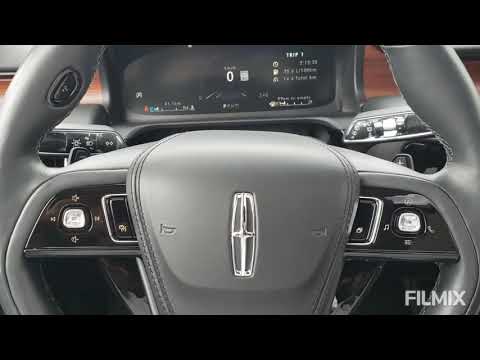
Lincoln Aviator
(2020-2026 /
MK 2)
The first thing to do to reset the oil light in the Lincoln Aviator is to press down the silver button on the right side of the steering wheel. This …

Lincoln Aviator
(2020-2026 /
MK 2)
In this video tutorial, you can see how to reset the engine oil light on the Lincoln Aviator. The first step is to perform vehicle maintenance, such …
Lincoln Aviator
(2003-2005 /
MK 1)
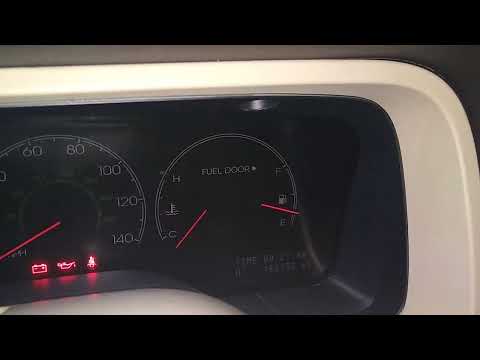
This guide shows how to reset the engine oil life percentage on the Lincoln Aviator Mk1. First, turn on the ignition. Then, using the "SETUP" button …
Other guides you may be interested in
|
How to replace the horn on a Renault Duster - Dacia Duster
Today's main instructions will show you the procedure for removing and replacing the horn or sound signal on the Renault Duster, as well as the Dacia Duster. First, open the bonnet of the vehicle and start removing the front bumper by unscrewing all the fixing screws; you will find the horn right in front of the radiator, as shown in the video. At this point, disconnect the electrical connector and unscrew the bracket screw to remove and replace the horn with the new one; finally, reassemble the front bumper! by ScegliAuto More videos
|
For advertising on this site Write to info@scegliauto.com
ScegliAuto is not responsible for any inaccuracy of the data in the lists. To report any inaccuracy or your business (if you own the business in question), please write to info@scegliauto.com
Number of seconds to generate the page: 0.676
(c) ScegliAuto 2026 - info@scegliauto.com - Privacy policy VAT number: IT01247470535 |
