
|
Do it yourself
| |||
| ||||


Mazda 6 - Video tutorial
Model: Mazda 6
GG, MK 1
- Years 2002-2008 We replace the damaged shock absorber in the front of a Mazda 6. We lift the car onto a column bridge and take the wheel out. We spray the shock absorber with the release agent, unscrew the screws of the internal plastic wheel stone guard. Now we unscrew the locking pins of the oil pipes, the pin of the vertical arm. If the pin does not come off, we intervene with a hammer. Now we lower the bridge and unscrew the pins on the side in the engine compartment and remove the shock absorber from its housing and compare it with the new one, insert the shock absorber in its housing and first go to tighten all the pins in the upper part in the engine compartment and then staring at the bottom. We screw the vertical arm with the wheel hub and with the shock absorber. We tighten all pins securely with our key. We reassemble the internal wheel stone guard disassembled previously. We mount the circle with the respective pins.
Posted on 1 December 2023 by ScegliAuto
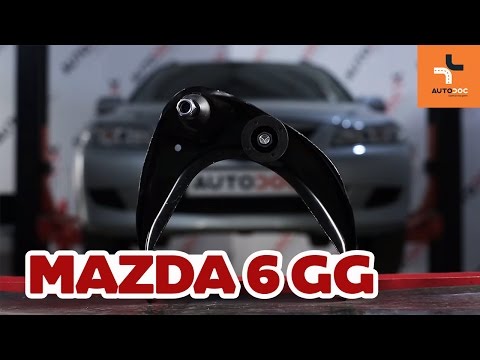 Suspension swing arm replacement
Mazda 6 (2002-2008 / GG, MK 1) In the event of noise coming from the front suspensions, especially when driving on bumpy roads, it is very likely that the oscillating arm of the su 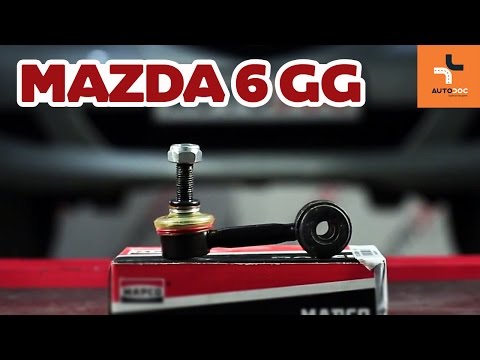 Front rod-strut replacement
Mazda 6 (2002-2008 / GG, MK 1) The front stabilizer bar is connected to the suspension oscillating arm through the so-called connecting rod, that is the rod-strut equipped with a s  How to replace the arm of the car
Mazda 6 (2002-2008 / GG, MK 1) The suspension arm of the car ensures the connection between the frame and the uprights. When it deforms or undergoes wear it can be dangerous becaus Other guides that may interest you
|
Disassembly of the gear knob on the Lancia Ypsilon 2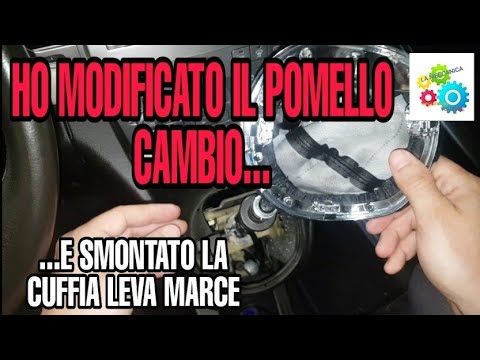
Today we will see, in this video tutorial, how to remove and replace the gear knob on the second series Lancia Ypsilon, but also on the Lancia Musa, in simple and quick steps. We get inside the car and start by removing the old gear knob; to do this, just unscrew it anticlockwise, as shown in the video. At this point we also remove the gearshift gaiter, in order to replace, if necessary, it too; we just have to fix the new headset and insert the new gear knob, screwing it correctly and without creating play on the gear lever! by ScegliAuto More videos
|
|
For advertising on this site Write to info@scegliauto.com
ScegliAuto is not responsible for any inaccuracy of the data in the lists. To report any inaccuracy or your business (if you own the business in question), please write to info@scegliauto.com
Number of seconds to generate the page: 0.063
(c) ScegliAuto 2024 - info@scegliauto.com - Privacy Policy VAT number: IT01247470535 |