
|
Do it yourself
| |||
| ||||


Removing the Dashboard and Centre Tunnel on Mazda 5
Model: Mazda 5
MK 1
- Years 2005-2015
Using a plastic wedge (not metal!) or a small flat screwdriver, pry up the plastic near the handbrake and remove it, remembering to disconnect its connector. In the same way, remove the plastic under the automatic gearbox, which has the cigarette lighter. Unscrew the two 8mm screws that are now exposed. Manually unscrew the gear knob and detach the plate. Unscrew the two screws that secure the rear side plastics of the centre tunnel, as shown in the video. Using the lever, detach the front side plastics, those beside the radio area. At this point, you will have uncovered another 4 screws (2 on each side) that you will need to unscrew. Again, using the lever, lift the plate related to the air vents and unscrew the screws underneath.
Updated on 2 April 2026 by ScegliAuto
Video tutorial
Related tutorials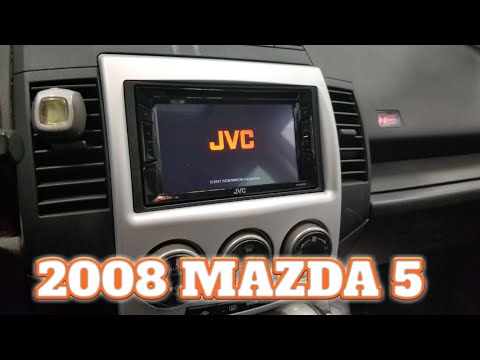
Mazda 5
(2005-2015 /
MK 1)
Before you can start, sit in the driver's seat of your Mazda 5. Begin by unscrewing and removing the gear knob, then unclip and remove all the covers…
Mazda 5
(2005-2015 /
MK 1)
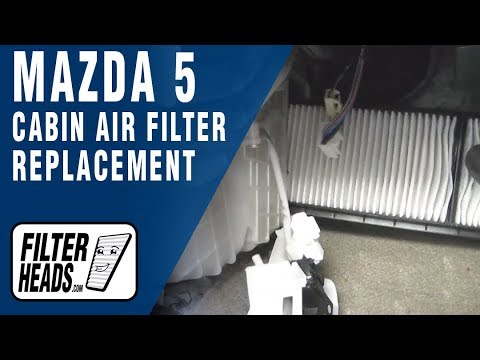
The cabin air filter is located behind the centre tunnel: access it from the passenger side and remove the plastic side cover and the sound-absorbing…

Mazda 5
(2005-2015 /
MK 1)
To find the box that contains all the fuses of your Mazda 5 in just a few seconds, you need to carefully read the following guide and apply the descr…
Other guides you may be interested in
|
How to Bleed the Clutch on a Renault Clio?
To bleed the clutch on a Renault Clio, open the bonnet to access the components located in the engine bay: here, you will need to undo the screws that secure the battery in its housing, the intake manifold, and the coolant reservoir. This will allow you to locate the pipe through which the brake fluid flows: by inserting the other end of the pipe into a container, you can press the clutch pedal to expel all the fluid until it fills the container. by ScegliAuto More videos
|
For advertising on this site Write to info@scegliauto.com
ScegliAuto is not responsible for any inaccuracy of the data in the lists. To report any inaccuracy or your business (if you own the business in question), please write to info@scegliauto.com
Number of seconds to generate the page: 0.168
(c) ScegliAuto 2026 - info@scegliauto.com - Privacy policy VAT number: IT01247470535 |
