
|
Do it yourself
| |||
| ||||


|
Video tutorial
To remove the instrument cluster, it is necessary to remove some trim elements from the dashboard: start by detaching the central trim secured with pressure clips (lever along the edges to release it); move to the trim piece located just below the steering wheel and then remove the trim frame of the instrument cluster, which also includes the upper cover of the light switch controls. At this point, you can unscrew the securing screws of the instrument cluster, pull it forward, and disconnect the power connectors to complete the removal.
Updated on 13 February 2026 by ScegliAuto
Related tutorials
Mazda 3
(2009-2013 /
BL, MK 2)
To remove the front headlamp, you first need to take off the front bumper: start by opening the bonnet and removing the clips on the slam panel. Then…

Mazda 3
(2009-2013 /
BL, MK 2)
To remove the front wing, you must first detach the bumper and the front lights: start by opening the front bonnet and removing the push clips along …
Mazda 3
(2009-2013 /
BL, MK 2)
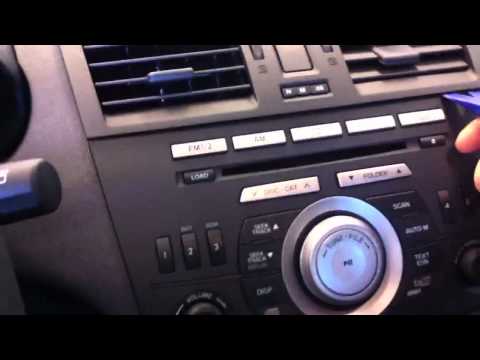
To remove the original car radio, no special tools or extractors are needed; simply disengage the air vents located at the centre of the dashboard co…
Other guides you may be interested in
|
How to Open the Fuel Filler Flap in the Hyundai i30?
In this tutorial, you will learn how to open the fuel filler flap in the Hyundai i30, a very simple operation that follows the typical procedure of most vehicles. First, unlock the locks using the designated button on the remote, then open the driver's door, locate the release lever on the left side of the seat, and operate it. Next, move to the fuel filler flap, open it completely, unscrew the cap, and refuel as needed. To close the flap, simply press it gently. by ScegliAuto More videos
|
|
For advertising on this site Write to info@scegliauto.com
ScegliAuto is not responsible for any inaccuracy of the data in the lists. To report any inaccuracy or your business (if you own the business in question), please write to info@scegliauto.com
Number of seconds to generate the page: 0.040
(c) ScegliAuto 2026 - info@scegliauto.com - Privacy policy VAT number: IT01247470535 |
