
|
Do it yourself
| |||
| ||||


|
Video tutorial
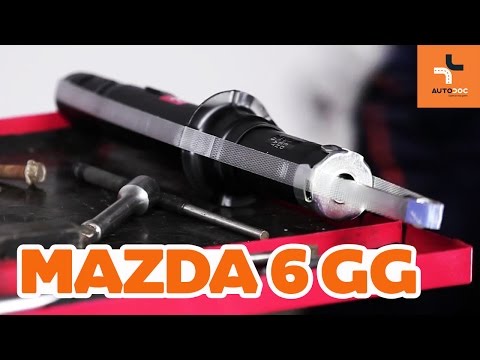
This video illustrates how to remove a front shock absorber from a Mazda. Let's see how to do it carefully. The first step: loosen the wheel nuts, lift the car on a column lift, and remove the wheel. Spray the shock absorber with penetrating oil, then use a screwdriver to unscrew the screws of the plastic inner wheel arch. Now unscrew the securing bolts of the oil pipes and the vertical arm bolt. If the bolt does not come out, use a hammer and penetrating oil. Now lower the lift and unscrew the bolts on the side in the engine bay, then pull the shock absorber out of its housing and compare it with the new one. Insert the new shock absorber into its housing, first tighten all the bolts at the top in the engine bay, and then secure the bottom. Bolt the vertical arm to the wheel hub and the shock absorber. Tighten all the bolts securely with your spanner. Reassemble all the oil pipes and the previously removed inner wheel arch. Finally, reattach the wheel with the respective nuts.
Updated on 25 February 2026 by ScegliAuto
Related tutorials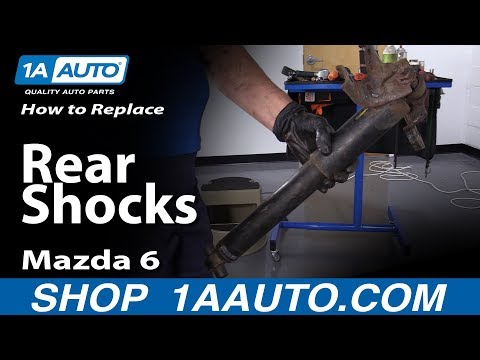
Mazda 6
(2002-2008 /
GG, MK 1)
This video illustrates how to dismantle the shock absorbers of a Mazda. Pay close attention to how to do it. The first step: loosen the wheel bolts, …
Mazda 6
(2002-2008 /
GG, MK 1)
Shock absorbers are responsible for slowing down the movements of the suspension. If the car has covered many miles, they need to be replaced. They c…

Mazda 6
(2002-2008 /
GG, MK 1)
Shock absorbers should be replaced when they no longer perform their function, regardless of the mileage. It is advisable to replace all four at the …
Other guides you may be interested in
|
How to Reset the Tyre Pressure Warning Light on the Jeep Renegade?
To reset the tyre pressure warning light on the Jeep Renegade, inflate the tyres until they reach the recommended pressure: this value is indicated on the sticker attached to the driver’s door pillar. Once the tyres are properly inflated, navigate through the menu that appears on the instrument cluster until you find the tyre pressure option. At this point, press and hold the OK button on the right side of the steering wheel to make the warning light disappear. by ScegliAuto More videos
|
|
For advertising on this site Write to info@scegliauto.com
ScegliAuto is not responsible for any inaccuracy of the data in the lists. To report any inaccuracy or your business (if you own the business in question), please write to info@scegliauto.com
Number of seconds to generate the page: 0.031
(c) ScegliAuto 2026 - info@scegliauto.com - Privacy policy VAT number: IT01247470535 |
