
|
Do it yourself
| |||
| ||||


Problems arising from the loss of the intake manifold of the Mercedes Vito W447
Model: Mercedes Vito
MK 3, W447
- Years 2014-2024
As we can see in this video, a leak in the intake manifold of the Mercedes Vito W447 can cause serious problems to the engine, affecting performance and emissions. The causes of the leak can be due to either a worn gasket of the intake manifold, or a crack in the manifold itself - as we see in the video - there may also be leaks in the pipes connected to the intake manifold or a damaged EGR valve. The symptoms can be irregular engine running, loss of power, especially under load, increased fuel consumption, whistling noise coming from the crack, and of course the check engine light on. The OBD scanner will read errors like P0171 or P0174 (lean mixture) or P0101 (inconsistent MAF) and upon visual inspection, we will see smoke or oil leaks. The damages that can be caused are premature wear of spark plugs or injectors, damage to the Lambda sensor or catalytic converter, and risks of overheating.
Posted on 29 May 2025 by ScegliAuto
Video tutorial
Related tutorials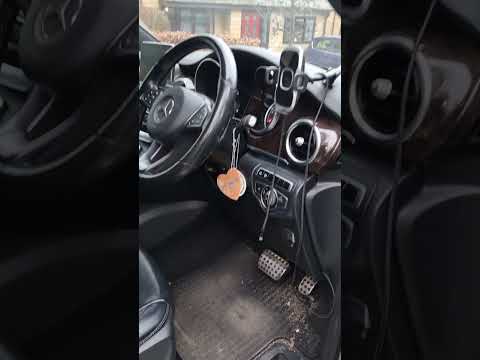
Mercedes Vito
(2014-2024 /
MK 3, W447)
If you are curious about the location of the OBD2 port on your Mercedes Vito W447, simply read the following guide carefully and follow all the descr…

Mercedes Vito
(2014-2024 /
MK 3, W447)
In the following guide, you will find a description of the short yet important procedure to replace the cabin air filter in your 2019 Mercedes Vito W…

Mercedes Vito
(2014-2024 /
MK 3, W447)
This guide will help you quickly locate the engine fuse box in your Mercedes Vito W447. Before starting, ensure the vehicle is parked safely and comp…
Other guides you may be interested in
|
How to Remove the Front Bumper of the Citroën C4 Picasso?
To remove the front bumper of the Citroën C4 Picasso, you need to take out all the rivets and screws that secure the piece to its housing: these screws are located inside the wheel arches of the front wheels and at the central upper part of the bumper itself. Once all these fastening elements have been removed, you can detach the bumper from its seat by disconnecting the connectors inside and then insert the new replacement part. The new part can then be secured and connected properly, ensuring it is correctly fixed in place. by ScegliAuto More videos
|
|
For advertising on this site Write to info@scegliauto.com
ScegliAuto is not responsible for any inaccuracy of the data in the lists. To report any inaccuracy or your business (if you own the business in question), please write to info@scegliauto.com
Number of seconds to generate the page: 0.090
(c) ScegliAuto 2026 - info@scegliauto.com - Privacy policy VAT number: IT01247470535 |
