
|
Do it yourself
| |||
| ||||



How to replace the crankshaft pulley on a Mini Countryman F60
Model: Mini Mini
- Years:
2017, 2018, 2019, 2020, 2021, 2022, 2023
Video tutorial
To replace the crankshaft pulley (and the tensioner, idler roller, and accessory belt) on a Mini Countryman F60, the job is complex due to limited space. Signs of wear on the pulley include metal filings around it and excessive play. Remove the front right wheel and the wheel arch liner (be careful with the plastic clips: push the centre pin inwards before retrieving it). Remove the rubber cap to access the crankshaft locking hole. Use a 6 mm Allen key to lock the engine and loosen the pulley bolts. Support the engine with a hydraulic jack. Remove the engine mount (bolts indicated by arrows), the right headlamp (be careful with the adjustment components), the mount bolts, the 8 mm bolt, and the AC line bolt. Free the electrical cables and the neck of the windscreen washer tank. Using a 19 mm spanner, act on the tensioner and remove the belt. Extract the pulley by undoing the four bolts. Replace the idler roller (10 mm spanner and Torx T50), the tensioner (two 16 mm bolts, after removing the boost pipe), and the belt.
Posted on 13 October 2026 by ScegliAuto
Related tutorials
Mini
(2017-2023 /
F60, Countryman2)
To locate the box containing all the various fuses within your Mini Countryman F60 (2017-2023) in just a few seconds, follow these simple steps. Firs…
Mini
(2017-2023 /
F60, Countryman2)
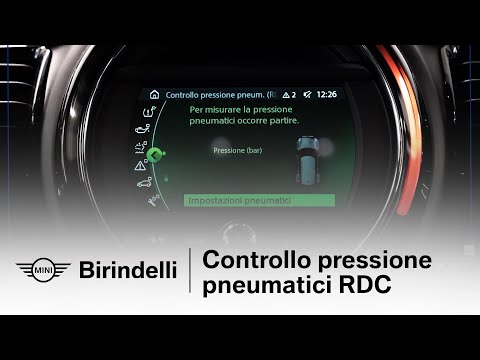
In today's video, we will see how to reset the RDC system (which relates to tyre pressure monitoring) in the Mini. F55, F56, F57, and F60 are the fou…

Mini
(2017-2023 /
F60, Countryman2)
To reset the "Service" light on a Mini Countryman, start by turning on the instrument panel without starting the engine. Press the button located bel…
Other guides you may be interested in
|
Frequently Asked QuestionsHow to Replace the Cabin Filter on the Ford Puma
To replace the cabin filter on the Ford Puma, detach the small cover located on the left side of the front passenger footwell: once this is removed, loosen the underlying screw so that you can detach the corresponding panel. At this point, locate the filter box underneath, which can be opened to remove the filter inside. The new filter can then be inserted, covering everything with the box and refitting the corresponding panel into its housing. by ScegliAuto More videos
|
|
For advertising on this site Write to info@scegliauto.com
ScegliAuto is not responsible for any inaccuracy of the data in the lists. To report any inaccuracy or your business (if you own the business in question), please write to info@scegliauto.com
Number of seconds to generate the page: 0.130
(c) ScegliAuto 2026 - info@scegliauto.com - Privacy policy VAT number: IT01247470535 |
