
|
Do it yourself
| |||
| ||||


Instructions for Replacing Number Plate Light
Model: Mitsubishi Lancer
MK 9
- Years 2007-2020
The lamp holder for the number plate lights is fixed under the edge of the bumper with two screws: unscrew the fixing screws and remove the lens, taking care with the gasket. Remove the old bulb and insert the new one (T10 fitting), check that it works correctly, and reposition the gasket and lens, securing everything with the screws under the bumper. If you notice a difference in brightness compared to the other bulb, it is advisable to replace this one as well; you may also opt for LED bulbs to give the car a more modern appearance.
Updated on 14 February 2026 by ScegliAuto
Video tutorial
Related tutorials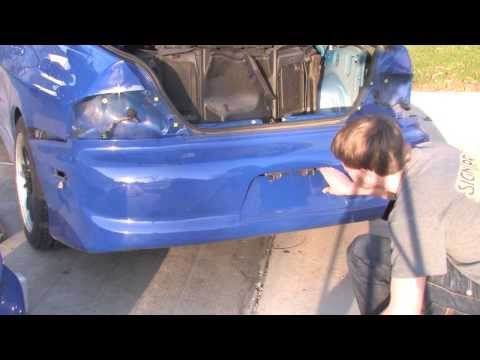
Mitsubishi Lancer
(2000-2006 /
MK 8)
To remove the rear bumper, start by opening the boot and removing the rear lights (there are two fixing screws along the inner edge); disconnect the …

Mitsubishi Lancer
(2007-2020 /
MK 9)
Before proceeding with the installation of the LED bulbs, obtain a plastic spatula to detach the light fittings without damaging them; use the spatul…

Mitsubishi Lancer
(2000-2006 /
MK 8)
Replacing the original incandescent bulbs with LED types will give the vehicle a much more modern and appealing look, as well as improve visibility. …
Other guides you may be interested in |
Installation of Upgraded Intercooler Radiator with Pipes
Lift the vehicle on suitable axle stands, remove the front wheels, and then the front bumper and grille. Proceed to remove the front headlights; drain the coolant, remove the intercooler radiator and the hoses connecting it to the intake system. Position the new intercooler radiator in the grille, temporarily securing it with cable ties, and mark with a marker the part of the metal that needs to be removed to allow the new hoses to pass through. Cut the marked portion of metal and apply a gasket to the edge. Remove the inner cover of the bumper and position it near the radiator to identify any interfering parts to eliminate: again, apply a gasket to the edge of the cut. Create brackets for securing the new radiator and proceed with the installation of the connecting pipes from the radiator to the intake, shaping and connecting them appropriately. Finally, reassemble the bumper, headlights, and grille. by ScegliAuto More videos
|

|
For advertising on this site Write to info@scegliauto.com
ScegliAuto is not responsible for any inaccuracy of the data in the lists. To report any inaccuracy or your business (if you own the business in question), please write to info@scegliauto.com
Number of seconds to generate the page: 0.052
(c) ScegliAuto 2026 - info@scegliauto.com - Privacy policy VAT number: IT01247470535 |