
|
Do it yourself
| |||
| ||||


Shock Absorber Removal and Replacement
Model: Nissan Almera
N16, MK 2
- Years 2000-2008
We all know that shock absorbers play an important role in the comfort of a vehicle as they quickly dampen the oscillations that would occur relying solely on springs, preventing loss of grip between the road and tyres. In this guide, we will see how to replace them in a few steps. The first thing to do, after removing the wheel, is to loosen the bolt at the bottom left (or right depending on the side); usually, there are two bolts at the top, from the bonnet, that hold them. Loosen these. Once done, it is advisable to grip the shock absorber body with pliers; remove the two bolts from earlier. Now remove the bolt behind the disc mentioned in the first step; the shock absorber should come out on its own. To proceed with the change, you also need to remove the springs, unless (though it's difficult if bought used) they are already mounted; it's best to place it on a hard surface and compress the shock absorber a few times. Once done, reassemble all the parts that were above the shock absorber and proceed with reassembly, performing the reverse procedure. To do this job properly, it is essential, in the opinion of the writer, to have a jack to lift the car slightly.
Updated on 9 February 2026 by ScegliAuto
Video tutorial
Related tutorials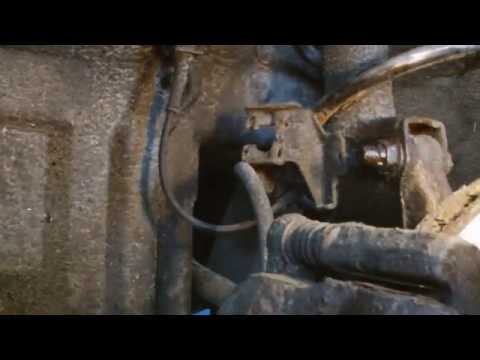
Nissan Almera
(2000-2008 /
N16, MK 2)
After removing the wheel and lifting your vehicle on appropriate jack stands, if there are any cables near the shock absorber that are attached to it…
Nissan Almera
(2000-2008 /
N16, MK 2)
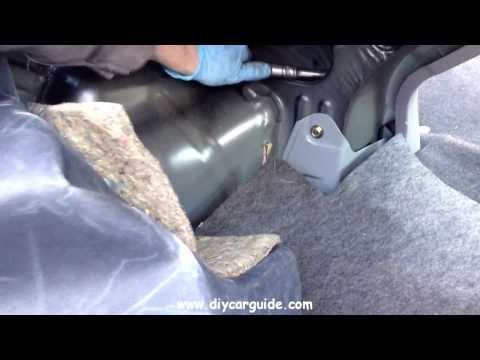
First, remove the wheel on the side where the repair is needed, then lift your vehicle on appropriate jack stands. Also, remove any cables that are n…

Nissan Almera
(2000-2008 /
N16, MK 2)
The tray above the radio has two small side slots: use a small flat screwdriver to lever in these slots and it will come out of its seat. Once the tr…
Other guides you may be interested in
|
How to Check the Oil Level on a Jeep Renegade?
To check the oil level on a Jeep Renegade, you need to open the bonnet to access the components inside the engine bay: on the lower left side of the engine block, you will find the dipstick for checking the level. This should be pulled out and thoroughly cleaned with a cloth: once cleaned, reinsert it back into its tube and pull it out immediately after. This way, you can check that the oil mark is between the minimum and maximum levels; finally, you can place the dipstick back in its tube. by ScegliAuto More videos
|
|
For advertising on this site Write to info@scegliauto.com
ScegliAuto is not responsible for any inaccuracy of the data in the lists. To report any inaccuracy or your business (if you own the business in question), please write to info@scegliauto.com
Number of seconds to generate the page: 0.267
(c) ScegliAuto 2026 - info@scegliauto.com - Privacy policy VAT number: IT01247470535 |
