
|
Do it yourself
| |||
| ||||


How to replace the ignition switch of an Opel Astra?
Model: Vauxhall Astra
Astra G
- Years 1998-2006
To replace the ignition switch of an Opel Astra, start by disconnecting the battery to avoid any short circuits or accidental activation of the electrical system. Once done, remove the cover of the steering column, which is secured with screws or plastic clips. This operation will allow you to access the ignition switch. Next, you will need to locate the locking screw or pin that holds the ignition switch in place inside the ignition cylinder. Carefully unscrew this fastening element, being careful not to damage the surrounding components. At this point, the ignition switch should easily come out of its seat. To install the new ignition switch, insert it in the correct position and make sure it fits properly into the ignition cylinder. Tighten the screw or fastening pin again to securely lock it in place. After completing the assembly, reposition the steering column cover and reconnect the battery. Before closing everything, check that the new ignition switch works correctly by starting the vehicle and ensuring that the steering wheel unlocks smoothly.
Posted on 24 April 2025 by ScegliAuto
Video tutorial
Related tutorials
Vauxhall Astra
(1998-2006 /
Astra G)
This guide shows how to dismantle and reassemble the ignition key cylinder of the Opel Astra G series. The first step is to remove the protective cov…
Vauxhall Astra
(1998-2006 /
Astra G)
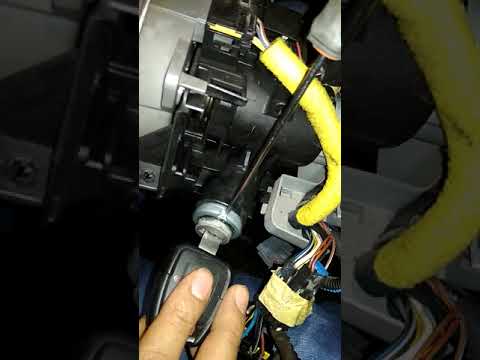
Remove the ignition cylinder from an Opel Astra, here’s how to proceed. Before removing the ignition switch, disconnect the battery power cables. Uns…

Vauxhall Astra
(1991-1998 /
Astra F)
Today's main steps will show us how to disassemble and replace the ignition cylinder of the Opel Astra, following the instructions below. First, we g…
Other guides you may be interested in
|
Frequently Asked QuestionsHow to Open a Stuck Boot on the Peugeot 407?
On the Peugeot 407, the boot may become stuck, possibly due to a problem with the control button or the lock actuator. In such cases, you can perform an emergency opening by following the simple procedure shown in this tutorial. First, open the rear doors, then lower the seat back by operating the release lever. Next, go inside the boot, locate the lock, and manually operate it using a flathead screwdriver. The boot will then be free to open. by ScegliAuto More videos
|
|
For advertising on this site Write to info@scegliauto.com
ScegliAuto is not responsible for any inaccuracy of the data in the lists. To report any inaccuracy or your business (if you own the business in question), please write to info@scegliauto.com
Number of seconds to generate the page: 0.297
(c) ScegliAuto 2026 - info@scegliauto.com - Privacy policy VAT number: IT01247470535 |
