
|
Do it yourself
| |||
| ||||


Loss of coolant on the Opel Mokka 1.4
Model: Vauxhall Mokka
Mokka A
- Years 2012-2019
In this video, we can see a rather common defect on the Opel Mokka 1.4 with the A14NET engine, namely the loss of coolant. We check for cracks or leaks in the welds (a common fault especially on models from 2012/2016) and look for leaks in the lower area or at the connections of the thermostat housing, as shown in the video; also, the water pump - which is located on the left side of the engine - often leaks from the gasket or shaft. To identify hidden leaks, the ideal tool is a pressurization kit; We can find the new thermostat, for example, on eBay with the code 392994411655 at a price of 61.00 euros + 5.90 euros for shipping. We disconnect the battery, drain the liquid into a basin (let's not scatter it in the environment); we remove the housing by removing the rubber hoses, unscrewing the 2/3 fixing bolts, removing the old gasket with a plastic spatula, applying silicone grease on the gasket of the new thermostat to help seal it, reconnecting the hoses, filling it with new liquid, starting the engine and heating it to 90° with the cap open, to expel the air.
Posted on 13 August 2025 by ScegliAuto
Video tutorial
Related tutorials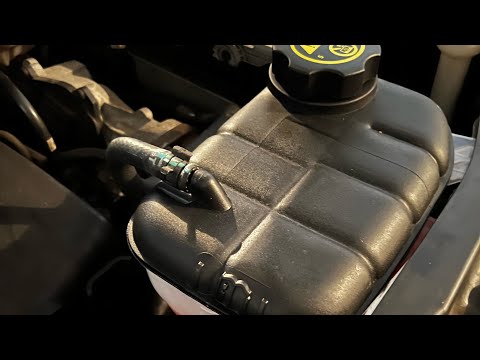
Vauxhall Mokka
(2012-2019 /
Mokka A)
In today's video, see how to replace the coolant reservoir on the Opel Mokka. First, ensure the engine is cold to avoid unpleasant burns. Open the fr…
Vauxhall Mokka
(2012-2019 /
Mokka A)
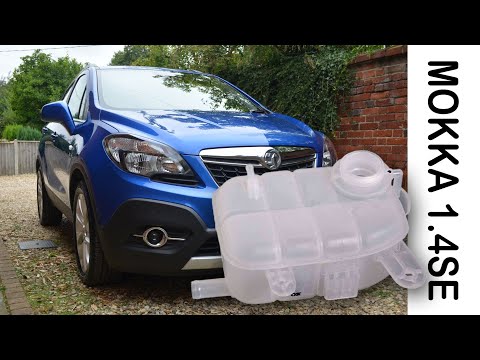
This tutorial demonstrates how to replace the coolant reservoir on an Opel Mokka, a straightforward and quick task. Before proceeding, ensure the eng…

Vauxhall Mokka
(2012-2019 /
Mokka A)
Has the radiator fluid reservoir on your Opel Mokka been damaged and you want to replace it without going to a garage? No problem, follow the video a…
Other guides you may be interested in
|
How to Replace the Battery on a Honda Vision 110
To replace the battery on a Honda Vision 110, you need to remove the front fairing of the motorcycle, located directly under the front headlamp. To loosen this panel, unscrew the two screws found at its top, just below the handlebar. Once these screws are loosened, lever under the panel to detach it, gaining access to the battery underneath: this battery must be removed from its housing by unscrewing the fixing screws and disconnecting the power cables, replacing it with a new one. by ScegliAuto More videos
|

|
For advertising on this site Write to info@scegliauto.com
ScegliAuto is not responsible for any inaccuracy of the data in the lists. To report any inaccuracy or your business (if you own the business in question), please write to info@scegliauto.com
Number of seconds to generate the page: 0.416
(c) ScegliAuto 2026 - info@scegliauto.com - Privacy policy VAT number: IT01247470535 |
