
|
Do it yourself
| |||
| ||||


If the air conditioning compressor becomes noisy, these could be the causes.
Model: Vauxhall Meriva
Meriva A, MK 1
- Years 2003-2010
When the air conditioning compressor becomes noisy, the causes can vary, and the problem should not be underestimated, even if the system continues to function. One reason could be insufficient lubrication of the compressor, which requires a specific oil; if it is inadequate, we will hear a sort of "ticking" sound when the compressor is on. If the compressor emits a constant buzzing or a whistle that increases with the engine speed, it could indicate a damaged bearing. If we hear repeated clicks when the air conditioning is turned on, or a sort of "squealing," then it is a problem related to the clutch that connects the compressor to the drive belt, which may be worn or misaligned. If we experience excessive vibrations or hammering during operation, then it is an issue related to insufficient refrigerant gas levels. A loose, worn, or misaligned belt can cause squeaks or jerks, while loose or broken components can result in metallic thuds, especially during acceleration or on bumpy roads.
Posted on 16 December 2025 by ScegliAuto
Video tutorial
Related tutorials
Vauxhall Meriva
(2010-2017 /
MK 2, Meriva B)
The 1.7 CDTi engine in the Opel is generally reliable but has some critical points to be aware of. The main issue is the injection pump control unit,…
Vauxhall Meriva
(2003-2010 /
Meriva A, MK 1)
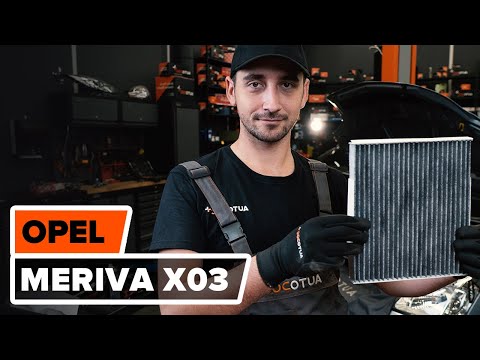
To replace the cabin filter of the Opel Meriva, open the bonnet to access the components located just under the windscreen. Here you will find the wi…

Vauxhall Meriva
(2010-2017 /
MK 2, Meriva B)
Error code 82 on an Opel Meriva vehicle indicates that it is necessary to reset the service light, related to the maintenance. To reset code 82, we m…
Other guides you may be interested in
|
How to Check the Oil Level on a Jeep Renegade?
To check the oil level on a Jeep Renegade, you need to open the bonnet to access the components inside the engine bay: on the lower left side of the engine block, you will find the dipstick for checking the level. This should be pulled out and thoroughly cleaned with a cloth: once cleaned, reinsert it back into its tube and pull it out immediately after. This way, you can check that the oil mark is between the minimum and maximum levels; finally, you can place the dipstick back in its tube. by ScegliAuto More videos
|

|
For advertising on this site Write to info@scegliauto.com
ScegliAuto is not responsible for any inaccuracy of the data in the lists. To report any inaccuracy or your business (if you own the business in question), please write to info@scegliauto.com
Number of seconds to generate the page: 0.184
(c) ScegliAuto 2026 - info@scegliauto.com - Privacy policy VAT number: IT01247470535 |
