
|
Do it yourself
| |||
| ||||



Electrical diagram of the Peugeot 308 Allure.
Model: Peugeot 308
T7, MK 1
- Years:
2007, 2008, 2009, 2010, 2011, 2012, 2013, 2014
Video tutorial
The electrical diagram presented in this video is the fundamental tool for solving any electrical problem: if a headlight, a window, or the radio, for example, is not working, the diagram allows us to find the fuse that protects it, identify the relay that controls it, trace the cable path from the battery to the component, and isolate the fault. If we want to install an aftermarket electrical device, the diagram shows us where to safely take the power supply, where to find an ignition control wire, where to connect to the necessary signals, and how to avoid overloads. It also enables us to understand how the system works and is essential for maintenance and repair. It is not a single sheet but a series of diagrams divided by systems: lighting system diagram; window and mirror control diagram; climate control and ventilation diagram; audio and navigation system diagram; airbag and safety systems diagram; engine control unit and injection diagram. Each diagram uses universal symbols such as battery, fuses, and relays; electric motors; switches and buttons; sensors; control units; color-coded cables; connectors.
Posted on 10 December 2025 by ScegliAuto
Related tutorials
Peugeot 308
(2007-2014 /
T7, MK 1)
When dealing with an electrical problem in cars in general, almost always the fuses are involved. This also applies to the Peugeot 308 hdi, which is …

Peugeot 308
(2007-2014 /
T7, MK 1)
We need to point out that the video here shows a fuse diagram that is identical to that of the Peugeot 308 and not only, in fact it can be considered…

Peugeot 308
(2021-2026 /
P5, MK 3)
If you are looking for the cause of a malfunction in one of the electrical system components, it will be useful to know the location of the fuse box …
Other guides you may be interested in
|
How to Open the Hood of the BMW X3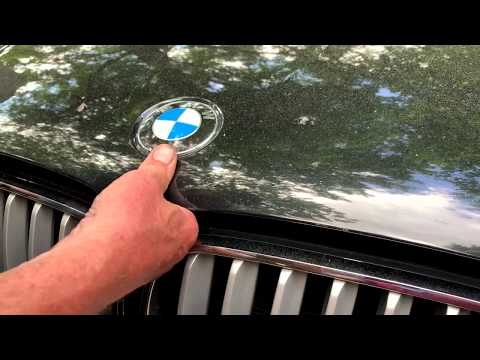
Today, you will learn how to open and close the hood of the BMW X3. To perform this simple operation, lift the hood release lever located next to the door seal on the driver’s side. After pulling the lever, you will notice that the hood will lift slightly. Position yourself in front of the hood and lift it after moving the internal lever from left to right. To keep the hood secure during maintenance, use the side support rod. To close the hood, simply let it fall back into place. by ScegliAuto More videos
|
|
For advertising on this site Write to info@scegliauto.com
ScegliAuto is not responsible for any inaccuracy of the data in the lists. To report any inaccuracy or your business (if you own the business in question), please write to info@scegliauto.com
Number of seconds to generate the page: 0.092
(c) ScegliAuto 2026 - info@scegliauto.com - Privacy policy VAT number: IT01247470535 |
