
|
Do it yourself
| |||
| ||||


Instructions for Bleeding and Replacing Brake Fluid
Model: Peugeot 206
MK 1
- Years:
1998, 1999, 2000, 2001, 2002, 2003, 2004, 2005, 2006, 2007, 2008, 2009
This video is currently unavailable
To replace the brake fluid, you will need a bottle for collecting the fluid, a small tube to attach to the bleed screw on the brake caliper, and an 8 mm spanner to unscrew the screw. Start by siphoning the fluid from the reservoir on the master cylinder of the brake pump, then refill it immediately with clean fluid; locate the bleed screw on the brake caliper (removing the wheel makes it easier but it can also be done without), insert the spanner, attach the tube secured with a zip tie, place the other end into a bottle filled with fluid to prevent the system from sucking in air, then pump the brake pedal to create pressure in the system, open the bleed screw and continue to pump without reaching the end of the stroke, allowing the fluid to escape, and finally close the screw; repeat the process on all four wheels while continuing to fill the reservoir with clean fluid as the system empties.
Updated on 14 February 2026 by ScegliAuto
Related tutorials
Peugeot 206
(1998-2012 /
MK 1)
Open the front bonnet and remove the plastic cover on the engine: the fuel filter is located at the front of the engine bay, just behind the radiator…
Peugeot 206
(1998-2012 /
MK 1)
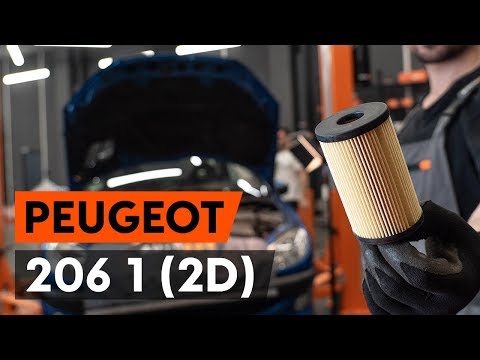
Let's see how to proceed with the oil filter replacement in a Peugeot 206. Place the car on a lift, open the bonnet, and remove the oil level dipstic…

Peugeot 206
(1998-2012 /
MK 1)
To replace the diesel filter, first remove the plastic engine cover and locate the filter at the front of the engine. Completely unscrew the drain sc…
Other guides you may be interested in
|
Frequently Asked QuestionsHow to Open the Bonnet of a Toyota C-HR
To open the bonnet of a Toyota C-HR, get inside the vehicle and lift the lever with the bonnet symbol located under the steering wheel. After lifting the lever, you will notice that the bonnet rises a few centimetres. Position yourself in front of the bonnet, insert your hand into the gap, and move the small internal lever from right to left, then lift the bonnet. You can keep the bonnet open during maintenance by positioning it on the support rod. To close the bonnet, remove the support rod and let it drop back down. by ScegliAuto More videos
|
|
For advertising on this site Write to info@scegliauto.com
ScegliAuto is not responsible for any inaccuracy of the data in the lists. To report any inaccuracy or your business (if you own the business in question), please write to info@scegliauto.com
Number of seconds to generate the page: 0.025
(c) ScegliAuto 2026 - info@scegliauto.com - Privacy policy VAT number: IT01247470535 |
