
|
Do it yourself
| |||
| ||||


How to replace the rear wheel bearings on a Renault Master II
Model: Renault Master
MK 2
- Years 1997-2010
In this video we can see how to replace the rear wheel bearings of the Renault Master II: first we open the hood and the brake fluid reservoir, then we remove the rear wheels and lift the vehicle. We remove the brake caliper and then the brake pads, we clean all parts well with a wire brush and WD-40; we remove the brake disc and then the hub and clean the part well. To remove the bearing we need a special tool, and we will have to have it done by a workshop. We clean well and take the new bearing, which we may have found on auto-doc. It has the code 4059191320608 at the price of 32.59 euros + 9.90 euros for delivery. Now it must be pressed back into the hub using the same tool as before, we put back the gasket and reposition the disc, then the brake pads, the calipers and the wheels. We can lower the vehicle and close the brake oil reservoir.
Posted on 16 June 2025 by ScegliAuto
Video tutorial
Related tutorials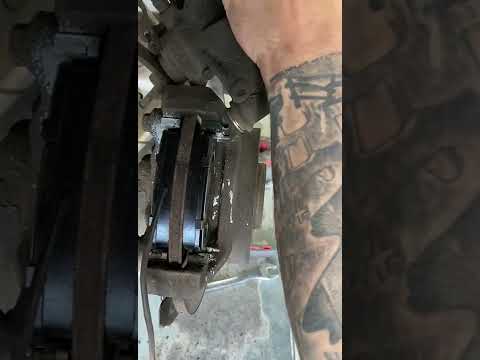
Renault Master
(2010-2023 /
MK 3)
This guide will show you the main steps to remove and replace the rear brake pads on the Renault Master. First, lift the vehicle and remove the rear …
Renault Master
(1997-2010 /
MK 2)
The fuses on a Renault Master are located inside the designated fuse boxes in the vehicle: there are two, one inside the cabin and one in the engine …
Renault Master
(2010-2023 /
MK 3)
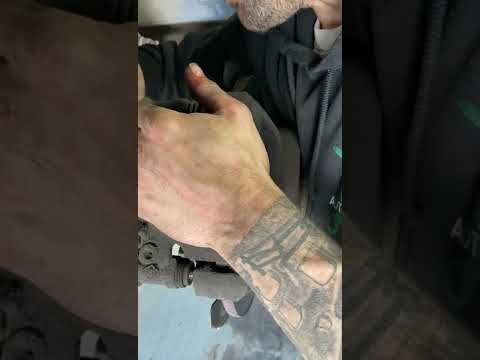
To replace the rear brake pads on the Renault Master, lift the vehicle so that the rear wheel is not in contact with the ground: after lifting the ve…
Other guides you may be interested in
|
How to Open a Stuck Boot on the Peugeot 407?
On the Peugeot 407, the boot may become stuck, possibly due to a problem with the control button or the lock actuator. In such cases, you can perform an emergency opening by following the simple procedure shown in this tutorial. First, open the rear doors, then lower the seat back by operating the release lever. Next, go inside the boot, locate the lock, and manually operate it using a flathead screwdriver. The boot will then be free to open. by ScegliAuto More videos
|
|
For advertising on this site Write to info@scegliauto.com
ScegliAuto is not responsible for any inaccuracy of the data in the lists. To report any inaccuracy or your business (if you own the business in question), please write to info@scegliauto.com
Number of seconds to generate the page: 0.475
(c) ScegliAuto 2026 - info@scegliauto.com - Privacy policy VAT number: IT01247470535 |
