
|
Do it yourself
| |||
| ||||


Replacement of the service belt on the Renault Clio IV
Model: Renault Clio
Clio IV, MK 4, Clio 4
- Years 2012-2019
In this video we see how to replace the drive belt on a Renault Clio IV: for safety, disconnect the negative battery terminal, lift the front right side of the car and support it with jack stands: remove the wheel and remove the plastic wheel arch, removing the plastic tabs and unscrewing the torx screws that hold it in place. On this Clio there are 2 separate drive belts: one for the alternator and one for the air conditioner compressor, and in any case they are fixed tension. Cut the old belts to remove them and install the new ones with a special tool, which can be found on eBay with the code 185962426686 at a price of 6.09 euros, free delivery. Make sure the markings on the belt are readable in a clockwise direction; install the alternator belt first, which is internal, and then the air conditioner belt (external). Make sure both belts are perfectly seated in all grooves. Reassemble the inner fender, the wheel, reconnect the negative terminal and start the engine to check that everything works perfectly.
Posted on 25 August 2025 by ScegliAuto
Video tutorial
Related tutorials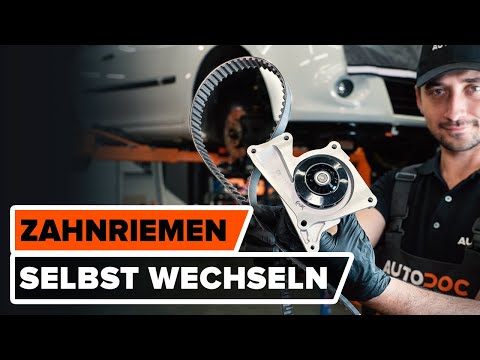
Renault Clio
(2005-2013 /
MK 3, Clio 3, Clio III)
Today, we will look at the instructions that will allow you to remove and replace the timing belt on the Renault Clio 1.5 DCI. First, raise the vehic…

Renault Clio
(2012-2019 /
Clio IV, MK 4, Clio 4)
To ensure that the clutch replacement on the Renault Clio takes place, it will be necessary to lift the car so that the front wheels are not in conta…

Renault Clio
(2012-2019 /
Clio IV, MK 4, Clio 4)
The demonstrative video available to watch here was shot with a Renault Zoe, but given the technical and structural characteristics, it can easily be…
Other guides you may be interested in
|
How to Check the Oil Level on a Jeep Renegade?
To check the oil level on a Jeep Renegade, you need to open the bonnet to access the components inside the engine bay: on the lower left side of the engine block, you will find the dipstick for checking the level. This should be pulled out and thoroughly cleaned with a cloth: once cleaned, reinsert it back into its tube and pull it out immediately after. This way, you can check that the oil mark is between the minimum and maximum levels; finally, you can place the dipstick back in its tube. by ScegliAuto More videos
|

|
For advertising on this site Write to info@scegliauto.com
ScegliAuto is not responsible for any inaccuracy of the data in the lists. To report any inaccuracy or your business (if you own the business in question), please write to info@scegliauto.com
Number of seconds to generate the page: 0.775
(c) ScegliAuto 2026 - info@scegliauto.com - Privacy policy VAT number: IT01247470535 |
