
|
Do it yourself
| |||
| ||||


Replacement of the EGR valve on the Renault Scenic 2 1.9 dCi
Model: Renault Scenic
MK 2, Scenic 2
- Years 2003-2009
Let's see how to replace the EGR valve on the Renault Scenic II 1.9 dCi: it is a rather complex job, in fact to access it you need to remove the windshield gasket, the plastic cover of the engine compartment, the wiper arms and motor (it is essential to mark their position before disassembling them); the plastic windshield compartment and parts of the metal compartment; the air duct and the airflow meter. Once access is obtained, we must disconnect all electrical connectors, disconnect the gas vent tube, unscrew the bolts that secure the EGR valve and the metal intake duct connected to it. Before installing the new valve (which can be found on auto. Doc. It with code 48386 at a price of 95.57 euros + 9.95 euros for delivery), it is essential to thoroughly clean the intake duct from carbon deposits, otherwise it will have been useless to install a new valve. Follow the reverse order for reassembly, making sure to replace all gaskets, tighten the bolts evenly, reconnect all electrical connectors and tubes.
Posted on 12 September 2025 by ScegliAuto
Video tutorial
Related tutorials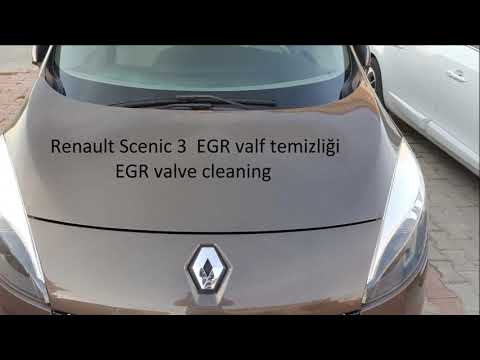
Renault Scenic
(2009-2015 /
Scenic 3, MK 3, MK III, Scenic III)
In today's video tutorial, follow the steps to remove and replace the EGR valve from the Renault Scenic 1.5 DCI. First, open the bonnet of your car a…
Renault Scenic
(2009-2015 /
Scenic 3, MK 3, MK III, Scenic III)
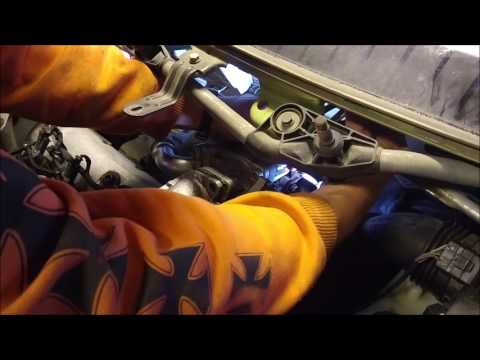
This guide shows how to remove the EGR (Exhaust Gas Recirculation) valve on a Renault Scenic 1.9 DCi. After securing the vehicle and opening the bonn…
Renault Scenic
(2003-2009 /
MK 2, Scenic 2)
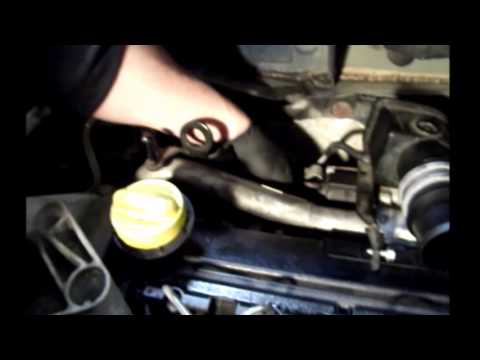
In this video tutorial, you will see how to remove and replace (or clean) the EGR valve on a Renault Scenic 1.5 DCi. First, open and lift the bonnet …
Other guides you may be interested in
|
How to Replace the Battery on a Honda Vision 110
To replace the battery on a Honda Vision 110, you need to remove the front fairing of the motorcycle, located directly under the front headlamp. To loosen this panel, unscrew the two screws found at its top, just below the handlebar. Once these screws are loosened, lever under the panel to detach it, gaining access to the battery underneath: this battery must be removed from its housing by unscrewing the fixing screws and disconnecting the power cables, replacing it with a new one. by ScegliAuto More videos
|
|
For advertising on this site Write to info@scegliauto.com
ScegliAuto is not responsible for any inaccuracy of the data in the lists. To report any inaccuracy or your business (if you own the business in question), please write to info@scegliauto.com
Number of seconds to generate the page: 0.078
(c) ScegliAuto 2026 - info@scegliauto.com - Privacy policy VAT number: IT01247470535 |
