
|
Do it yourself
| |||
| ||||


Renault Clio - Video tutorial
Model: Renault Clio
Clio 2, MK 2
- Years 1998-2005 First remove the molding along the outer door pillar; unscrew the screw inside the opening handle seat; remove the protective cap from the screw in the window lift buttons housing and unscrew it to be able to remove the push-button panel by releasing the socket; four more screws are located along the bottom edge of the panel. Remove the loudspeaker protection grille, and unscrew the relative fixing screws; unclip the interior trim of the rear-view mirror. Using a plastic lever, unhook the pressure clips along the edges of the panel and pull it upwards to remove it from the scraper gasket. Then proceed with the disassembly of the power window motor and the window itself by releasing the fastening clips of the sliding shoes: then complete the disassembly of the track and, if necessary, of the relative wiring.
Posted on 13 July 2023 by ScegliAuto
 Guide to disassembling the Renault Clio door panel.
Renault Clio (2012-2019 / Clio IV, Clio 4, MK 4) Today's guide will show us the procedure for dismantling and replacing the front door panel of the Renault Clio. First, we open the front or rear doo 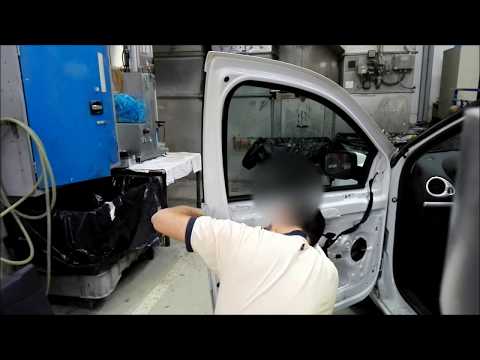 Replacing the door lock and door handle on the Renault Clio 3
Renault Clio (2005-2013 / MK 3, Clio 3, Clio III) .. First we open the front door and start by removing the front door panel, removing the plastic covers and unscrewing the fixing screws; then we.. 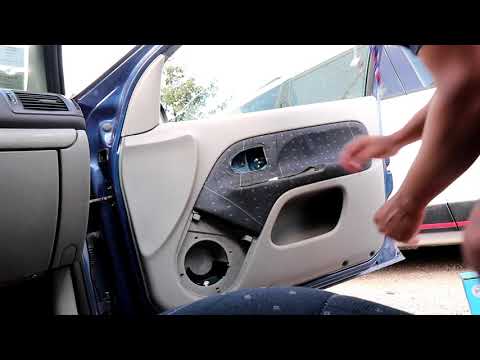 Removing the Renault Clio door panel
Renault Clio (1998-2005 / Clio 2, MK 2) In today's video tutorial we will see how to remove the interior door panel of a Renault Clio. First of all, open the front door and start by removin Other guides that may interest you
|
Frequently Asked QuestionsDisassembly of the gear knob on the Lancia Ypsilon 2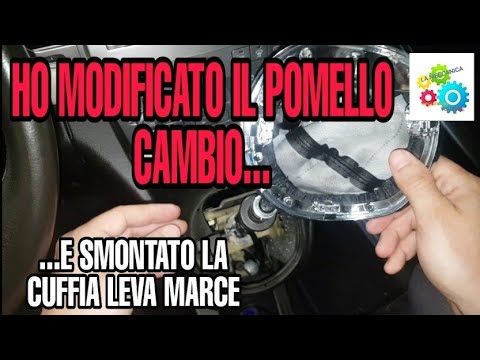
Today we will see, in this video tutorial, how to remove and replace the gear knob on the second series Lancia Ypsilon, but also on the Lancia Musa, in simple and quick steps. We get inside the car and start by removing the old gear knob; to do this, just unscrew it anticlockwise, as shown in the video. At this point we also remove the gearshift gaiter, in order to replace, if necessary, it too; we just have to fix the new headset and insert the new gear knob, screwing it correctly and without creating play on the gear lever! by ScegliAuto More videos
|
|
For advertising on this site Write to info@scegliauto.com
ScegliAuto is not responsible for any inaccuracy of the data in the lists. To report any inaccuracy or your business (if you own the business in question), please write to info@scegliauto.com
Number of seconds to generate the page: 0.119
(c) ScegliAuto 2024 - info@scegliauto.com - Privacy Policy VAT number: IT01247470535 |