
|
Do it yourself
| |||
| ||||


How to Reset the Service Light on a Renault Clio MK III
Model: Renault Clio
MK 3, Clio 3, Clio III
- Years 2005-2013
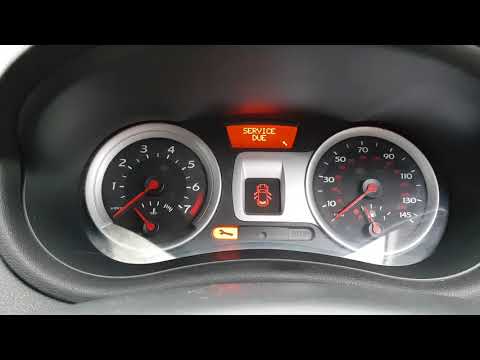
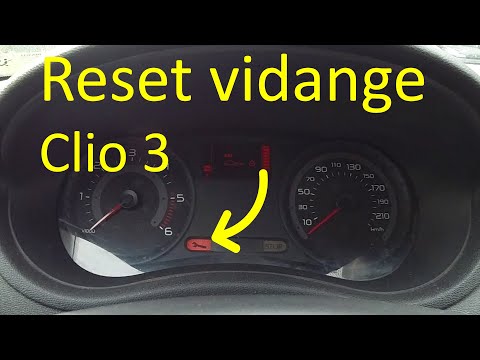
To reset the service light on a Renault Clio MK III, first, get into the vehicle, close all four doors, and turn the key to position 1, powering on the dashboard without starting the engine. Use the buttons on the satellite located at the top of the lever on the right of the steering wheel. The message will prompt you to restore the correct oil level. Scroll through the menu using the button previously mentioned in the video. When you reach "perform oil change", hold it down until it continues to flash. When it becomes steady, it will highlight the next oil change interval, and the spanner light will also turn off.
Updated on 31 July 2026 by ScegliAuto
Video tutorial
Related tutorials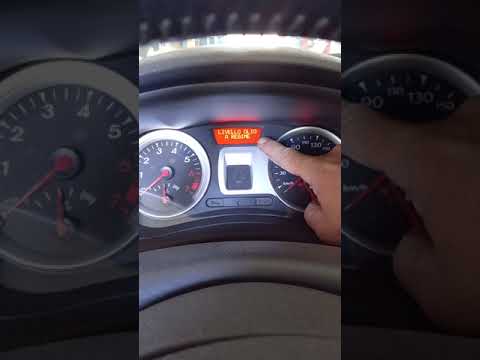
Renault Clio
(2005-2013 /
MK 3, Clio 3, Clio III)
Before you begin, sit in the driver's seat of your Renault Clio. Start by turning on the ignition by turning the key in the ignition barrel. Next, wa…
Renault Clio
(2005-2013 /
MK 3, Clio 3, Clio III)
To reset the service light on the Renault Clio 2006, use the two side buttons up and down on the right-hand lever of the steering wheel, the lever be…
Renault Clio
(2005-2013 /
MK 3, Clio 3, Clio III)
To reset the Service light on the Renault Clio, turn on the instrument panel and then press and hold the button at the end of the lever to the right …
Other guides you may be interested in
|
How to Replace the Remote Battery for the Volvo XC40?
In this tutorial, you will see how to replace the battery in the remote for the Volvo XC40, a very simple and quick operation. For this, you will need a replacement battery of type CR2032 and possibly a small flathead screwdriver. First, remove the front cover by pressing the button on the metal ring, then locate the second button, press it as well, and remove the opposite cover. Next, open the circular cap, take out the old battery, and insert the new one in the opposite direction. Finally, reassemble everything. by ScegliAuto More videos
|

|
For advertising on this site Write to info@scegliauto.com
ScegliAuto is not responsible for any inaccuracy of the data in the lists. To report any inaccuracy or your business (if you own the business in question), please write to info@scegliauto.com
Number of seconds to generate the page: 0.251
(c) ScegliAuto 2026 - info@scegliauto.com - Privacy policy VAT number: IT01247470535 |
