
|
Do it yourself
| |||
| ||||


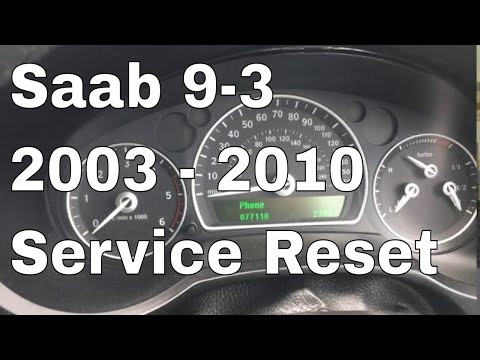
How to reset the maintenance light on the Saab 93 MK2
Model: Saab 9 3
MK 2
- Years 2002-2014
In this video we see how to reset the service light of the Saab 83 MK2: we see on the dashboard the small wrench symbol that indicates we need to reset the light, we turn on the ignition and using the up and down buttons on the left side of the steering wheel, we go to the settings. We press and hold the "set" button, which will emit a sound signal and we scroll down the menu until we reach the next service message. When we get here, we press the "set" button, which will allow us to reset the service interval, but before doing this we must press the brake pedal all the way down. After this, the service will be reset.
Posted on 1 March 2024 by ScegliAuto
Video tutorial
Related tutorials
Saab 9 3
(2002-2014 /
MK 2)
To reset the Service light on the Saab 9-3, you need to turn on the instrument panel by turning the key in its ignition block. Once the panel is on, …
Saab 9 3
(2002-2014 /
MK 2)
The procedure for resetting the Service light on the Saab 9-3 is done by turning on the instrument panel and turning the appropriate key within its i…

Saab 9 3
(2002-2014 /
MK 2)
The Service indicator of the Saab 9 3 can be reset by turning on the instrument panel, turning the ignition key inside its corresponding block: once …
Other guides you may be interested in
|
How to Remove and Reinstall the Rear Wheel Support Plates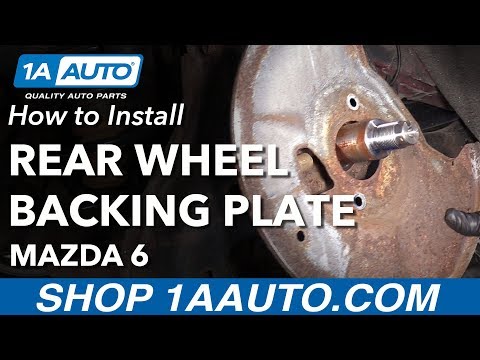
To remove and reinstall the rear wheel support plates, first lift the car on a ramp. Then, using a 12 mm socket, unscrew the bolts securing the wheel to remove it. Next, take out the support assembly by unscrewing the relevant bolts. You can then slide out the first plate by unscrewing the bolts with the appropriate spanner. After that, using a 35 mm socket, remove the other bolt that precedes the second plate. Proceed to unscrew all the smaller screws to take it off. To reinstall everything, simply reverse all the steps just mentioned, ensuring to clean all parts thoroughly and lubricate them. by ScegliAuto More videos
|
|
For advertising on this site Write to info@scegliauto.com
ScegliAuto is not responsible for any inaccuracy of the data in the lists. To report any inaccuracy or your business (if you own the business in question), please write to info@scegliauto.com
Number of seconds to generate the page: 0.071
(c) ScegliAuto 2026 - info@scegliauto.com - Privacy policy VAT number: IT01247470535 |